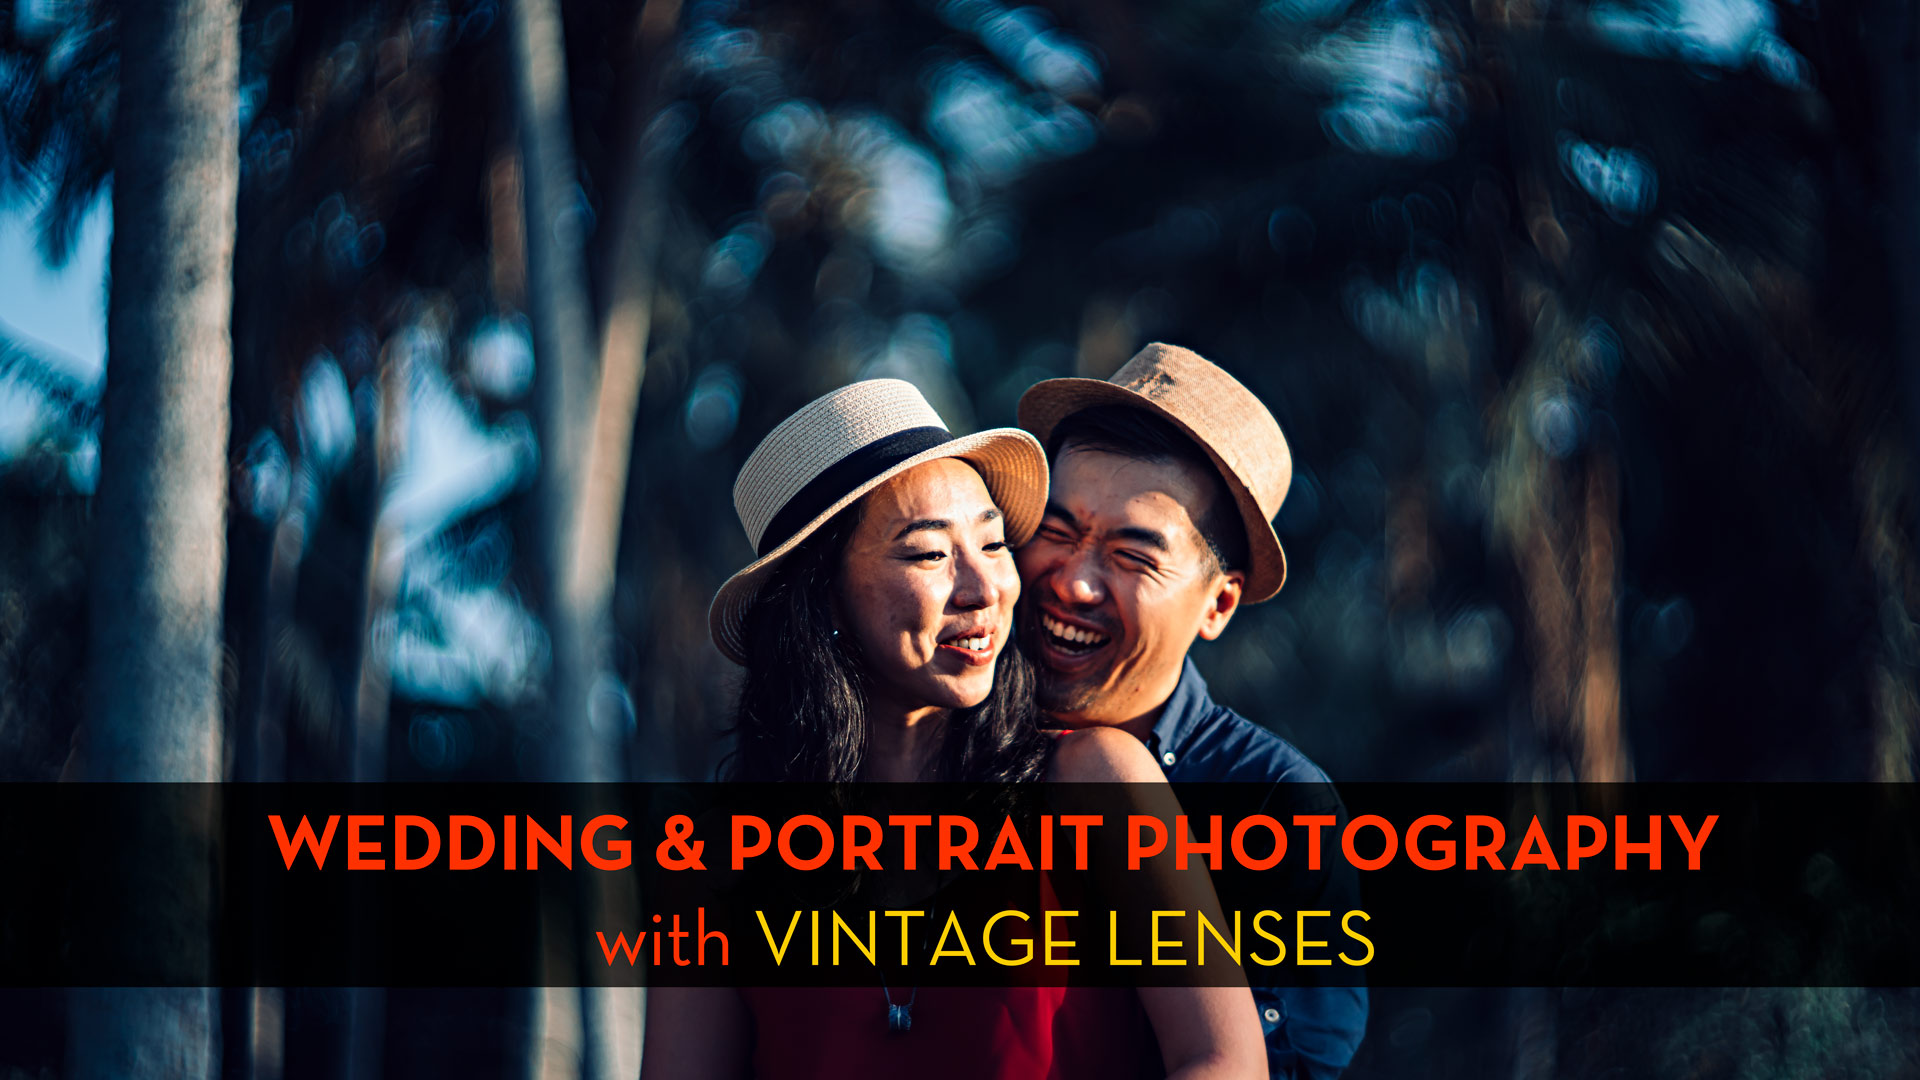
WEDDING & PORTRAIT PHOTOGRAPHY with VINTAGE LENSES
Over the last 3,4 years, I have transitioned from using modern auto-focus lenses to using exclusively vintage lenses with manual focus.
Not only for my private photos but also for commercial assignments. Those include wedding and engagement photography in my home that is Bali – Indonesia.
Using old, manual lenses had a very positive impact on my photography. And I have termed that approach SLOW PHOTOGRAPHY. I have written about this here and here.
In the following, I would like to share with you a recent assignment doing wedding & portrait photography with vintage lenses.
And also tell you why it was so rewarding to only use some of the gems of my vintage glass collection.
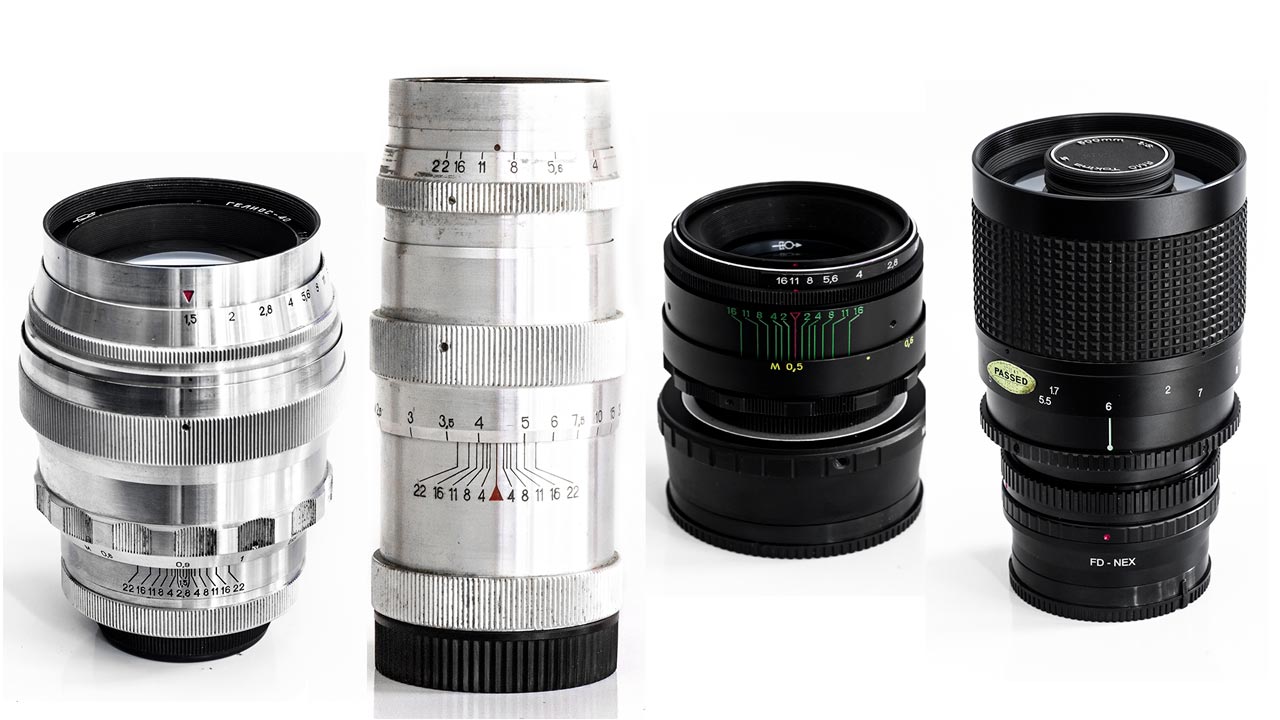
These are the vintage lenses I used – from left to right:
HELIOS 40 (85 mm / f 1.6) | JUPITER-11 ( 135 mm / f 4.0) | HELIOS 44-2 (58 mm / f2.0) | TOKINA mirror lens ( 500 mm / f 8.0)
DISCLAIMER: The name in the watermark on my photographs is MICHELLE PASTEL – this is a synonym I use to distinguish my vintage lens photography work from my conventional wedding photography work which I do under my real name.
Street portraiture approach for pre-wedding & engagement photos ?
First things first: To my utter surprise, my client found me online through an article I had written about street portraiture – the way I do street photography in cities around the world.
I was surprised because when I wrote the street portraiture article, I wrote it for other photographers. It was a rather technical article.
And I never thought it would get the attention from clients from the wedding world too.
Brides are usually blissfully oblivious to the technical aspects of photography.😇
Rightly so.
I also don’t care in which oven or with what kind of pan a chef has prepared my meal. Or what kind of knife, he uses to cut the ingredients…
But Nicola, my client loved the photos I showed in the article. As an accomplished filmmaker in Hongkong, she also happens to understand the role lenses play in photography and film making.
She explicitly asked me to do her pre-wedding photos in my street portraiture style – which involves using a super-tele-lens.
To set the stage here are some of the photos which I was able to capture with this beast of a lens.
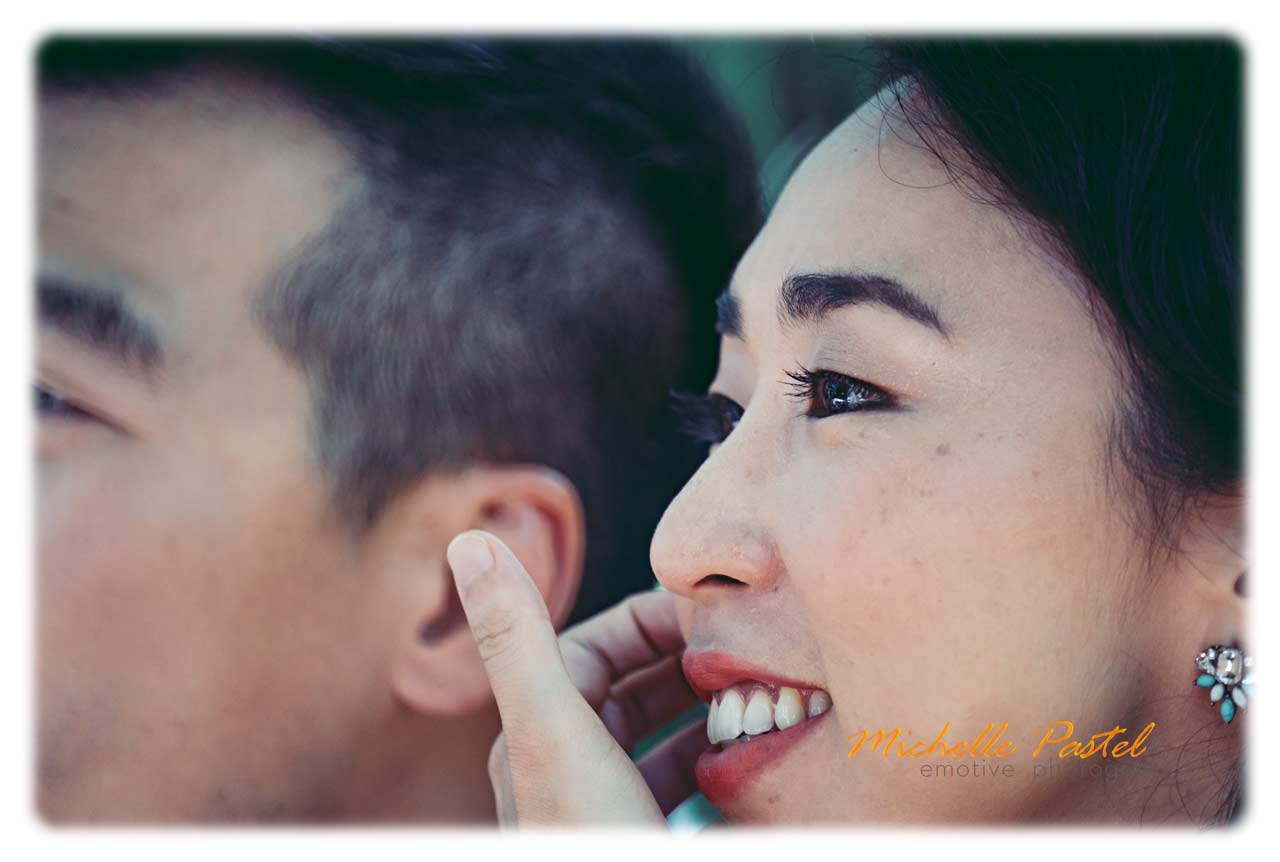
Getting in – really close… TOKINA 500 mm Mirror lens
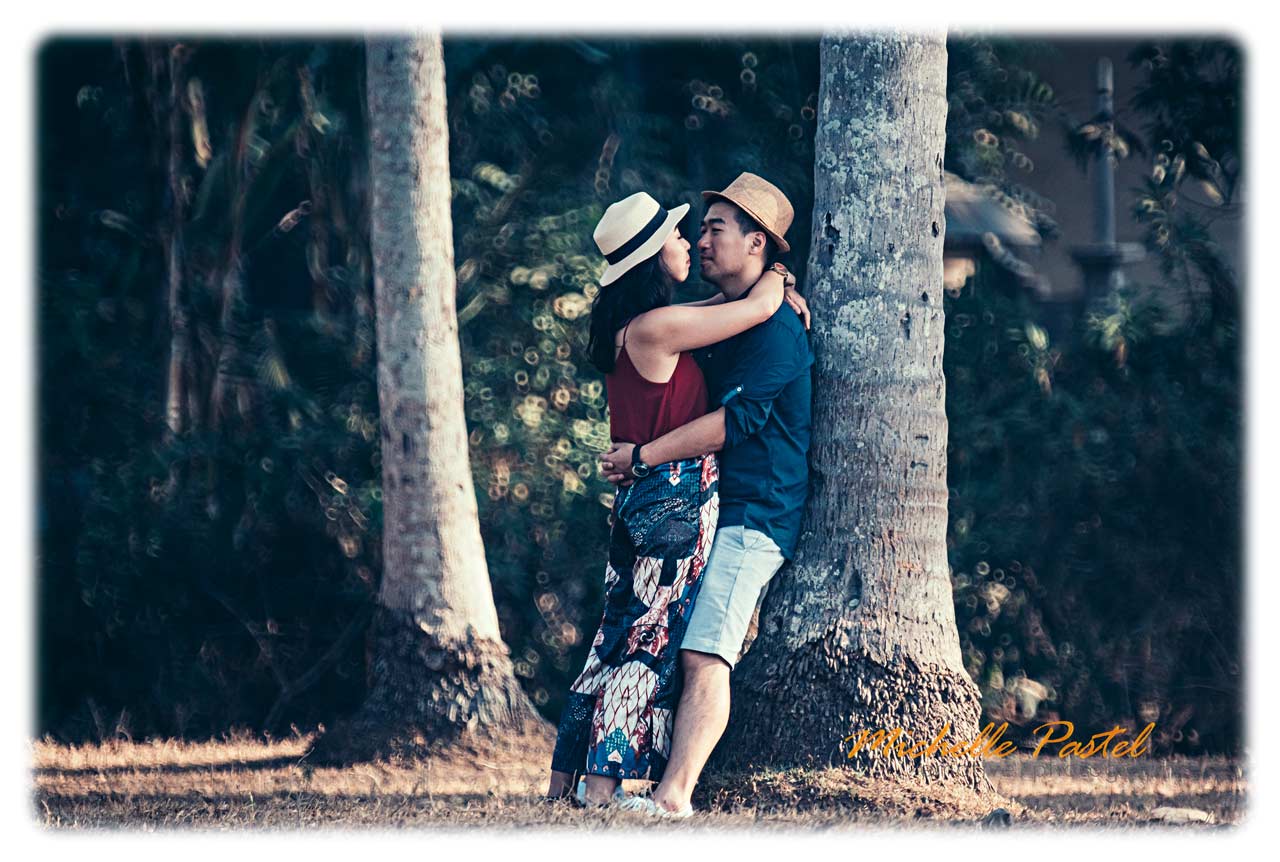
I am about 60 meters or more away from the couple
A 500 mm mirror lens for wedding portraits – am I mad ?
At first, I was not so fond of the idea to use a 500 mm manual focus mirror lens for a pre-wedding project.
Here is why.
For wedding & portrait photography with vintage lenses using a 500 mm focal length lens, is not a technical challenge. It is purely a practical matter.
Due to the required distance between the photographer and the subject communication and giving directions to the couple becomes difficult or even impossible.
I am a huge proponent of photographing couples naturally and with as little as possible directing.
However, it is usually not enough to say to them ‘act natural and be candid’.
Therefore, some small hints and directions are necessary. For example, the occasional joke which will make your subject smile or laugh naturally.
But all this becomes very difficult if you are 20 – 30 meters ( 70-100 feet ) away from your subjects.
And it gets even more difficult for photographs where I also want to incorporate some of the environment. I then need to be at a distance of as much as 50 -70 meters (190 – 230 feet)!
Even such basic directing like asking them to turn a bit into the light, for instance, becomes impossible.
If I am out there in nature with nobody around then shouting over the distance is an option. Whereas in a noisy or urban environment with lots of people the shouting option is off the table.
And indeed, we were doing a lot of the photos in a rather urban environment. So no shouting…
Here is what I did.
I choose a busy street with lots of funky shops and boutiques and I decided to photograph them inside the boutiques through the shop window. Because the reflections in the shop window where another style element I wanted to incorporate.
Here are some of the resulting pictures:
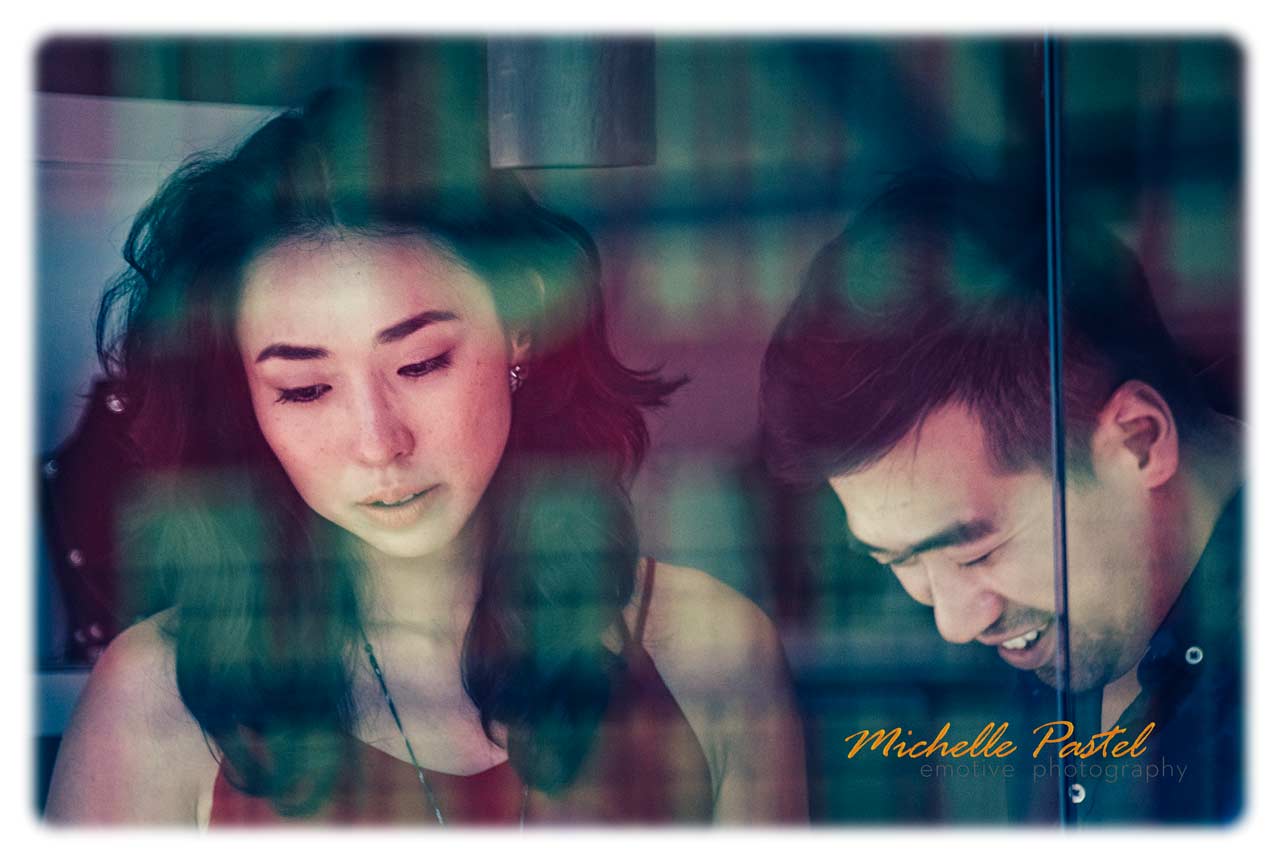
Photographed from across the street through a shop window – TOKINA 500 mm mirror lens
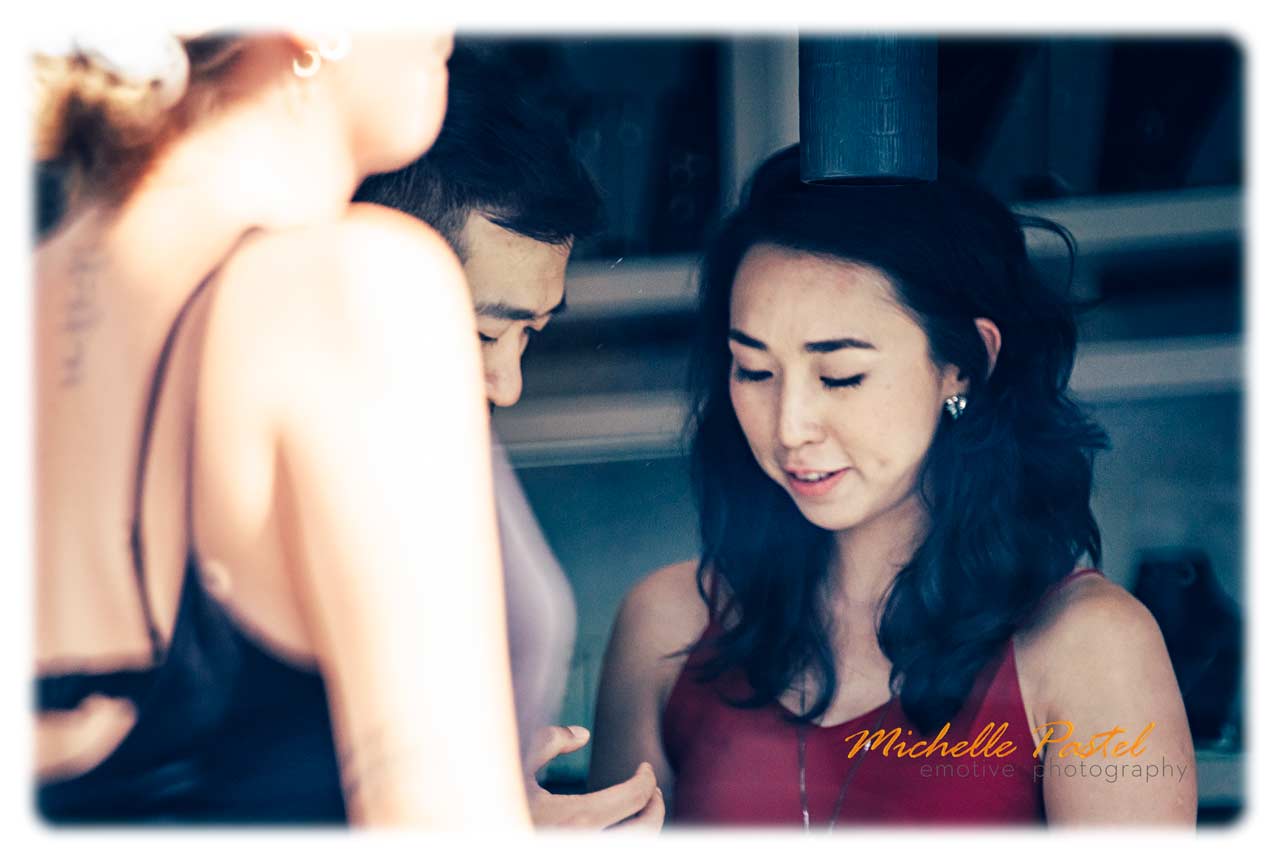
a TOKINA 500 mm mirror lens in action – admittedly with the focus being off a bit…
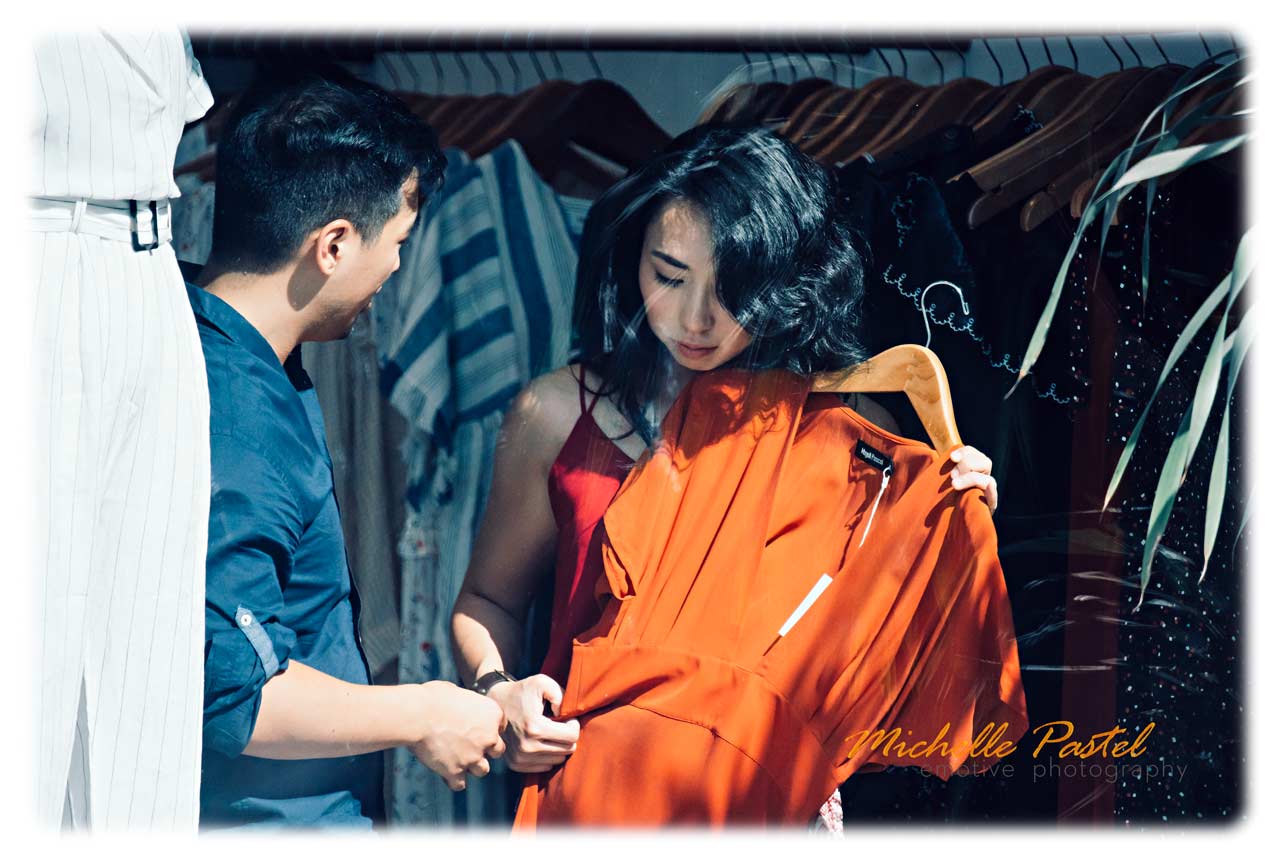
The 500 mm TOKINA mirror lens used for street portraiture photography
Portraits with a 500 mm lens – how I pulled it off:
Before sending my couple into a shop I had to brief them what they were supposed to do. Where to stand, etc…Because once they were in the shop I could not give directions to them.
I positioned myself on the other side of the road. Which gave me enough distance to my subjects and also allowed me to be ‘stealthy’. Because I would have perhaps not gotten permission from the shops to photograph there…
One more photograph with the Tokina 500 mm mirror lens. This photo also demonstrates the unique doughnut bubble bokeh that only mirror lenses can produce:
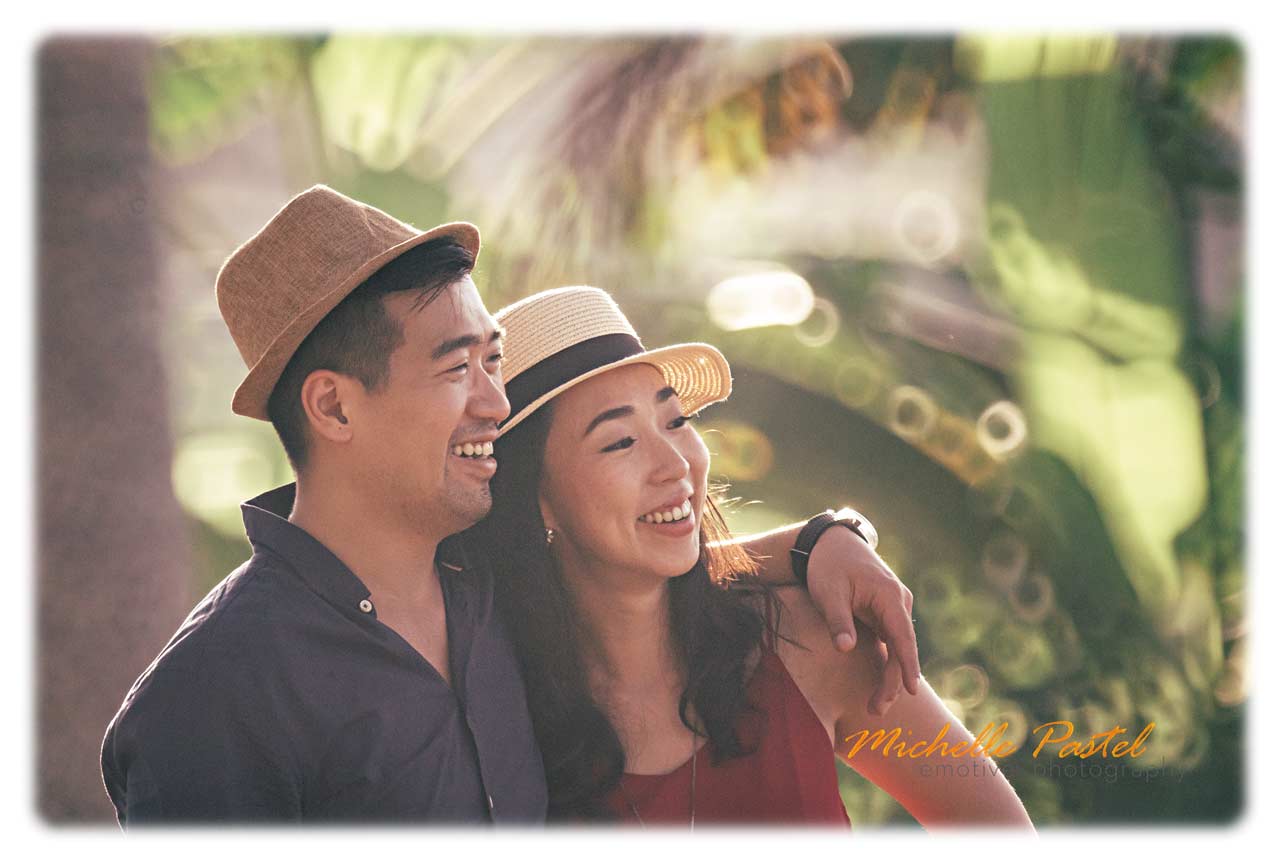
Here I am over 15 meters away from my subjects
Soviet Union lens JUPITER-11 (135 mm / f4)
I used this little puppy for very few pictures only. Why? Is it not good enough?
No, that is not the reason. Its over-all character does not fit it with the swirly bokeh from the Helios. And I wanted some consistency in the photos I make for my client.
I have several other JUPITER lenses which I will use together in upcoming projects. Stay tuned.
Also 135 mm was not a focal length I felt like using on that day. But why not for a few pictures.
Here are some photos with the JUPITER-11 135mm / f4 lens.
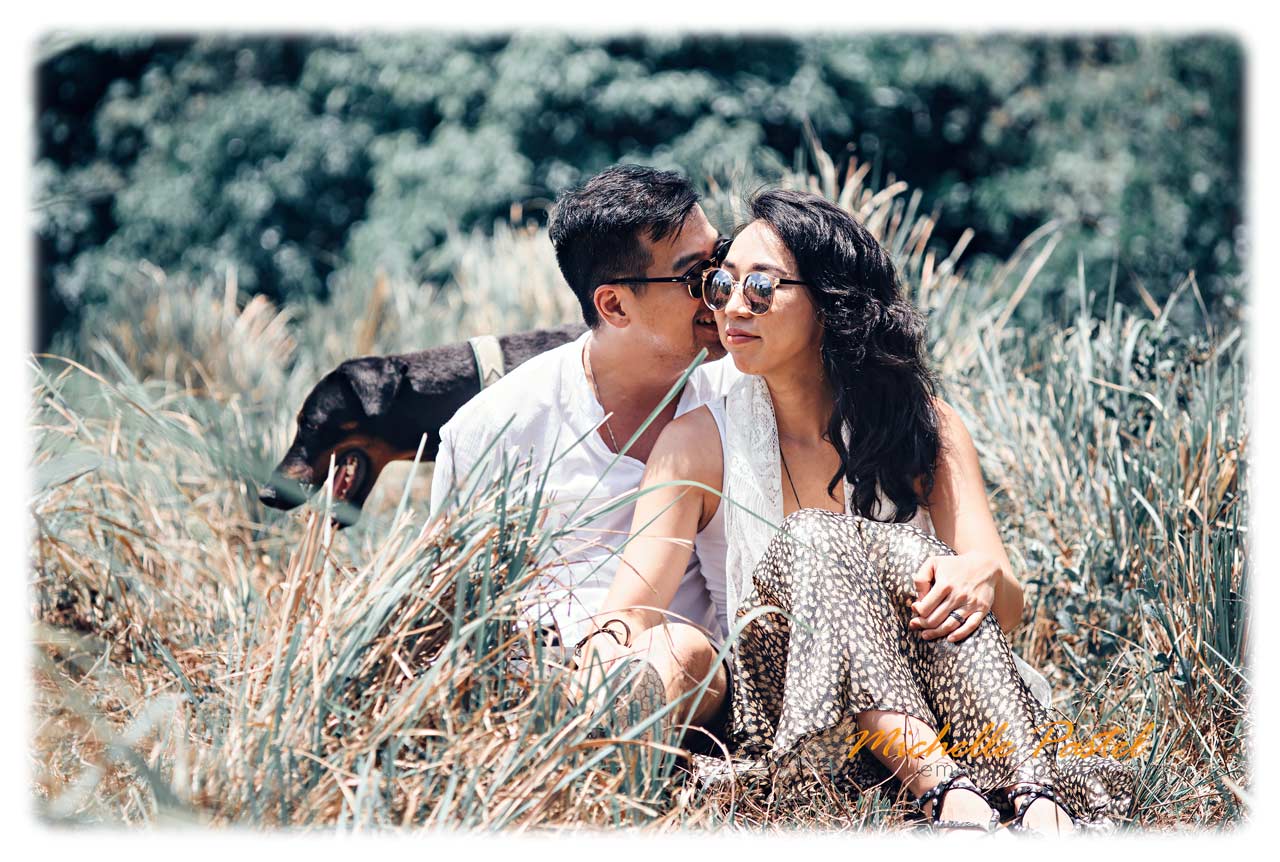
JUPITER-11 135mm / f4 lens
JUPITER-11 135mm / f4 lens
JUPITER-11 135mm / f4 lens
The HELIOS 40 and 44 – The ‘Dream Team’
Regular readers of my articles will know that I am an absolute fan of HELIOS glass. For the simple reason that it has the most unique background blur characteristics – namely the swirly bokeh effect.
So, it should come as no surprise that 70% or more of the photos I had taken for this couple were made with my two HELIOS lenses.
The 85mm / f1.5 ‘beast’ is a bit hard to handle. So the majority of the photos were taken with the 58 mm HELIOS.
But let me show you first some images without the swirly bokeh.
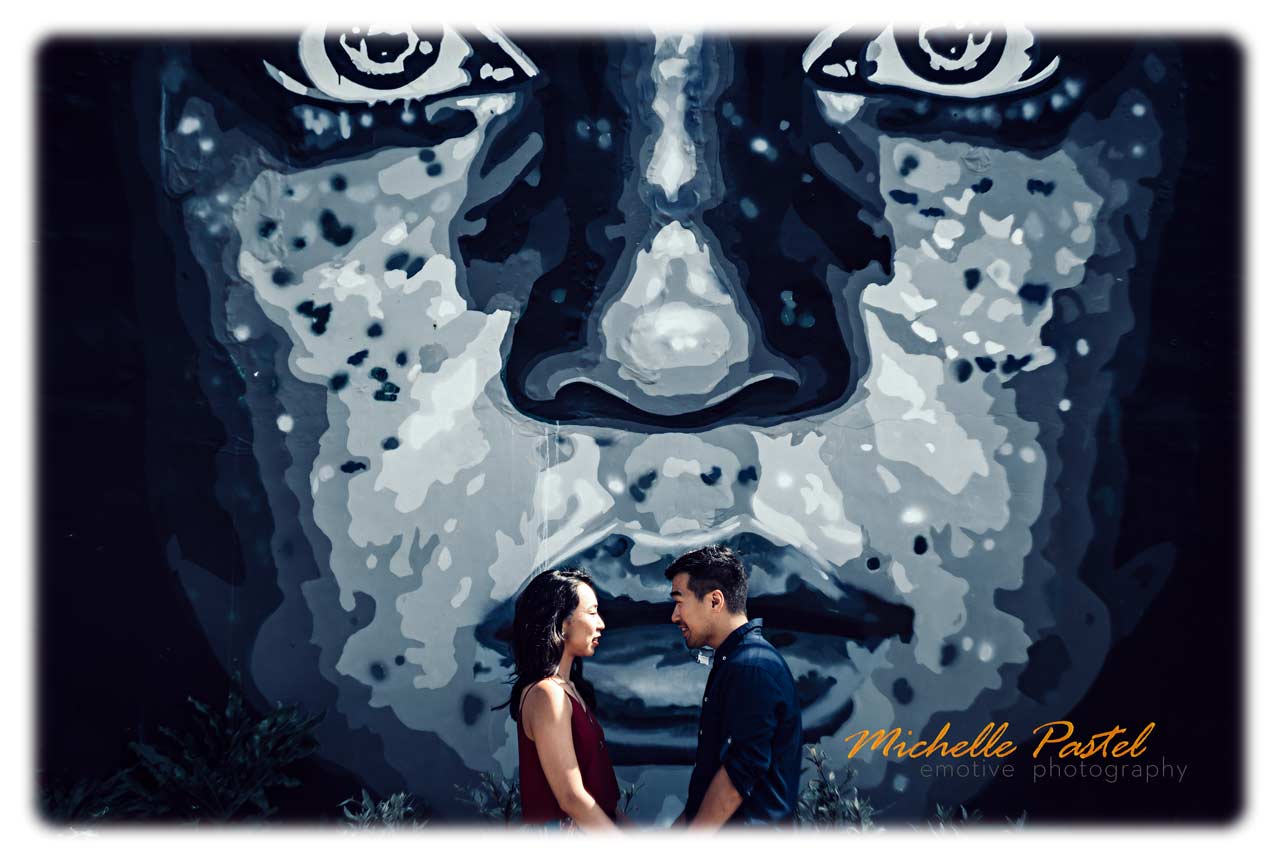
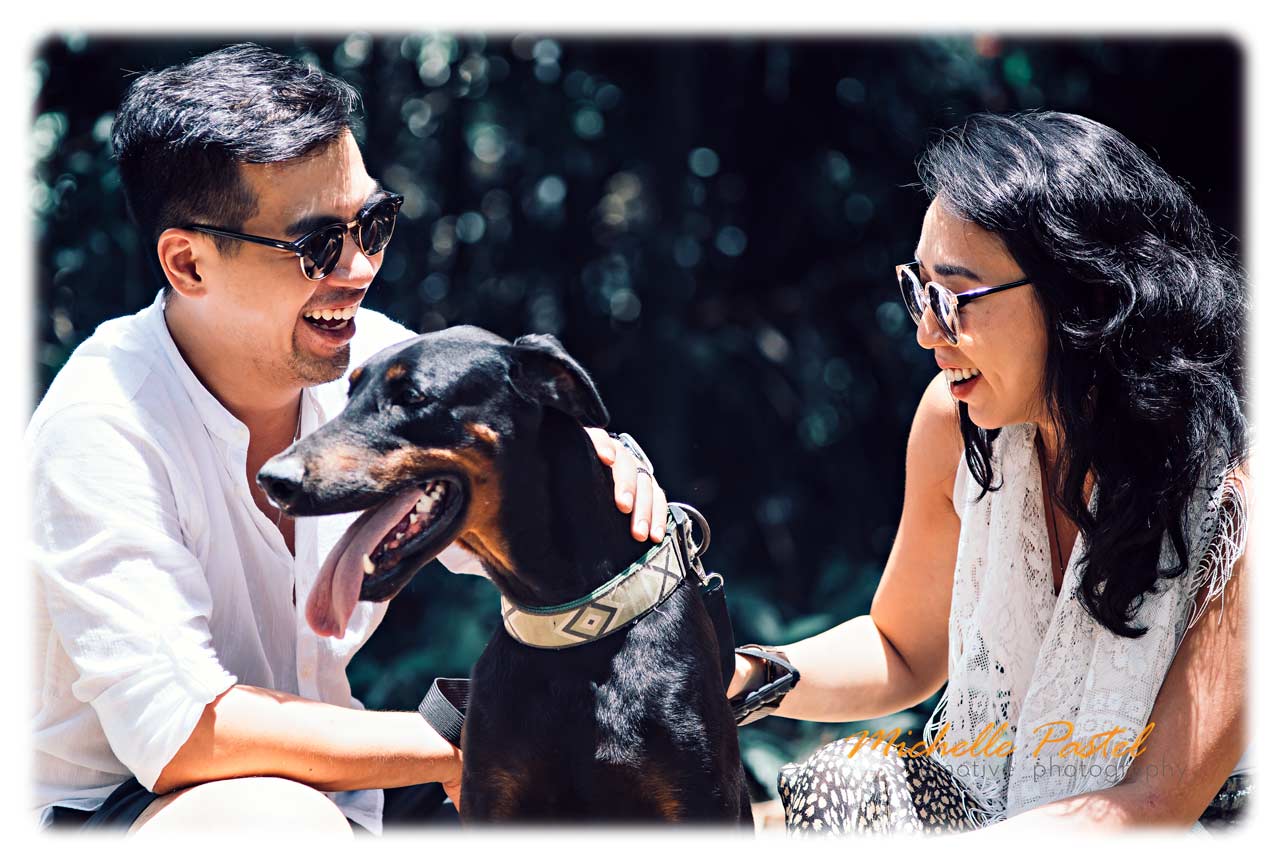
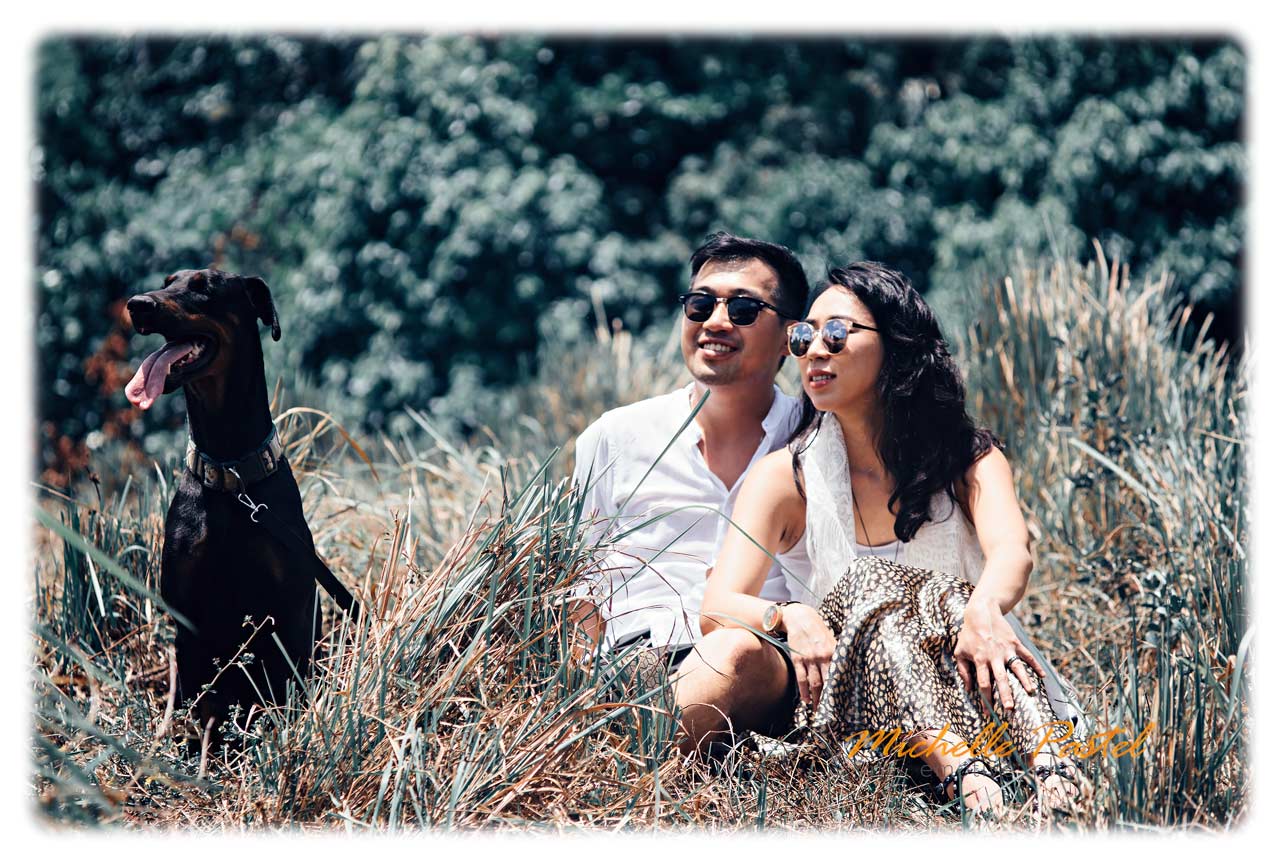
HELIOS 44-2 Lens
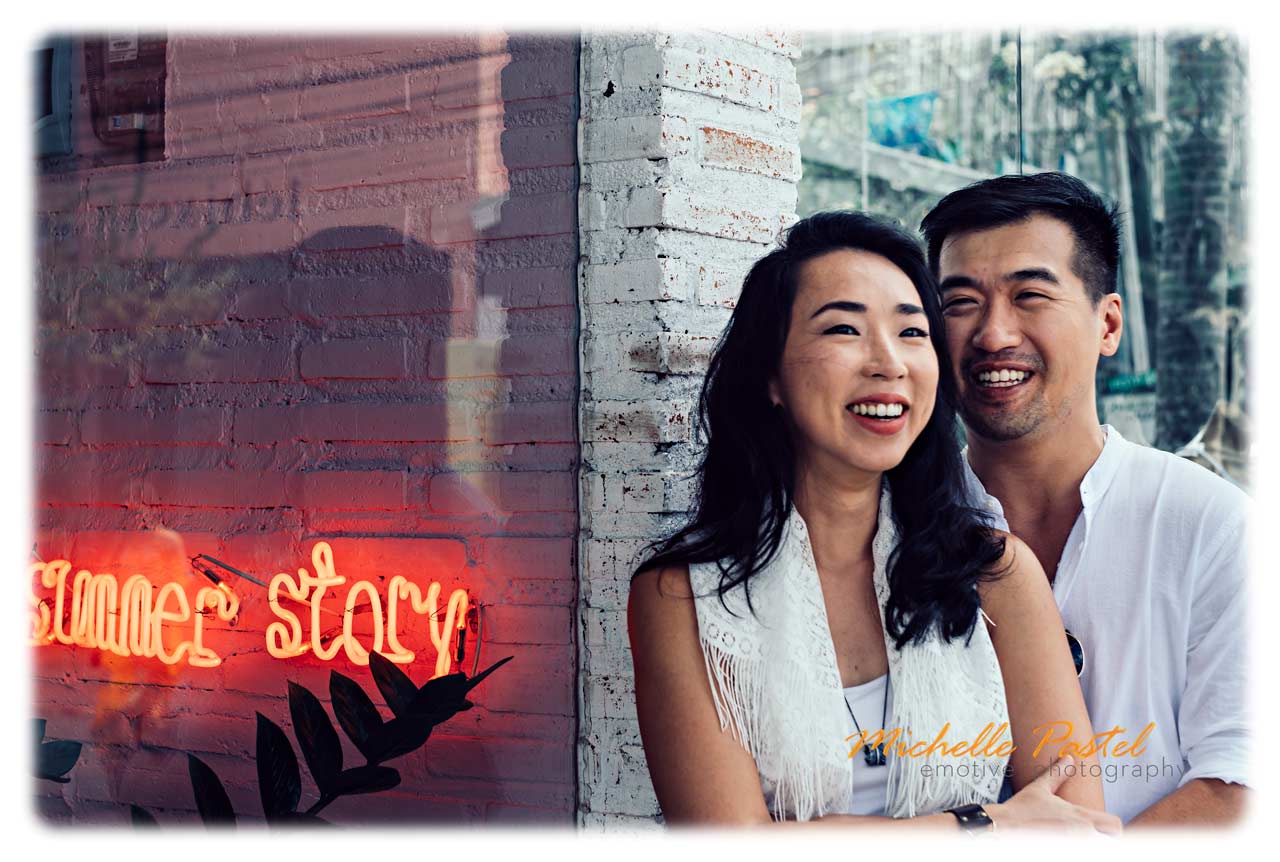
HELIOS 44-2 Lens – it does not always need to be swirly…
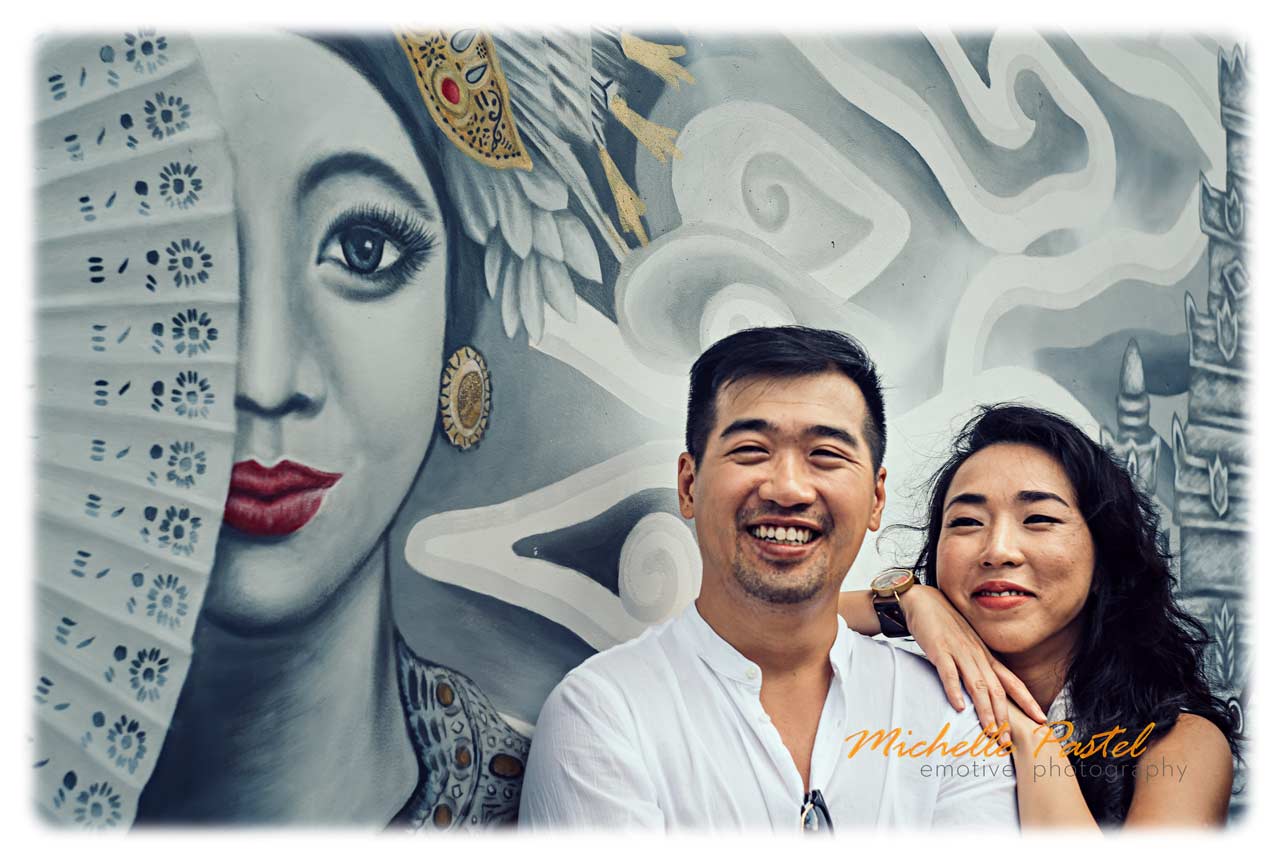
HELIOS 44-2 Lens in action
How to achieve the swirly bokeh in portraits with the Helios lenses:
To get the swirly bokeh there are a few things to note.
Firstly, the lens’ aperture needs to be wide open – f2.0 in case of the 58 mm and f1.5 in the case of the 85 mm lens.
The other requirement to get the swirly bokeh effect is your subjects need to be against a background that can produce such bokeh.
There is no swirly-ness in the sky for instance. Nor in buildings or other structures far in the background such as in the following picture.
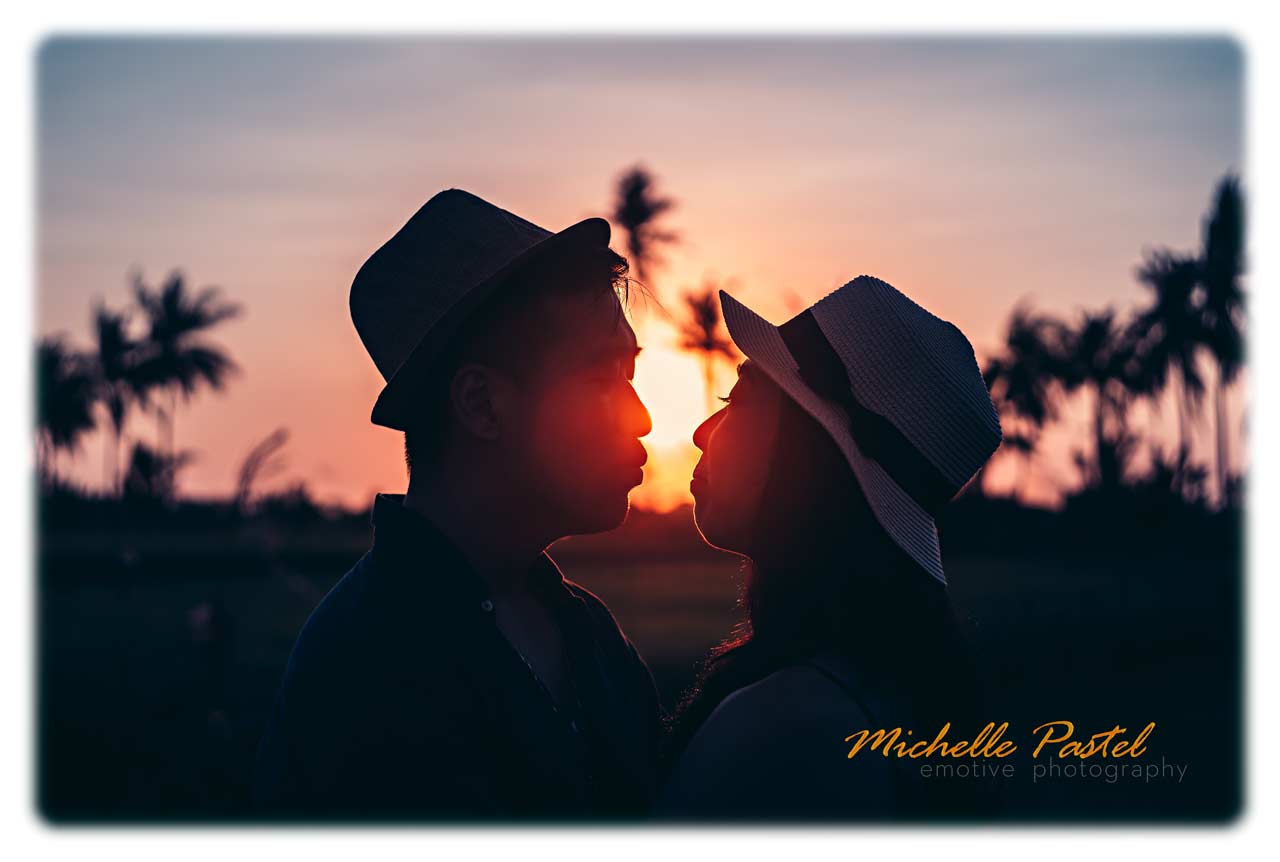
HELIOS-40 Lens 85 mm / f2.0
Ideally, you have a background with a lot of contrast and shapes. Bright light sources or back-light coming through trees can be ideal.
Secondly, the distance to your subjects matters also.
To get a good foreground-background separation, your subjects should be between 1 and 3 meters away from you.
Needless to say, finding or creating such conditions can be tricky and challenging.
But it can be done. And one of the best ways is to do some planning and location scouting. At least this is what I do before a photo project.
Now let’s get swirly and get your head spinning:
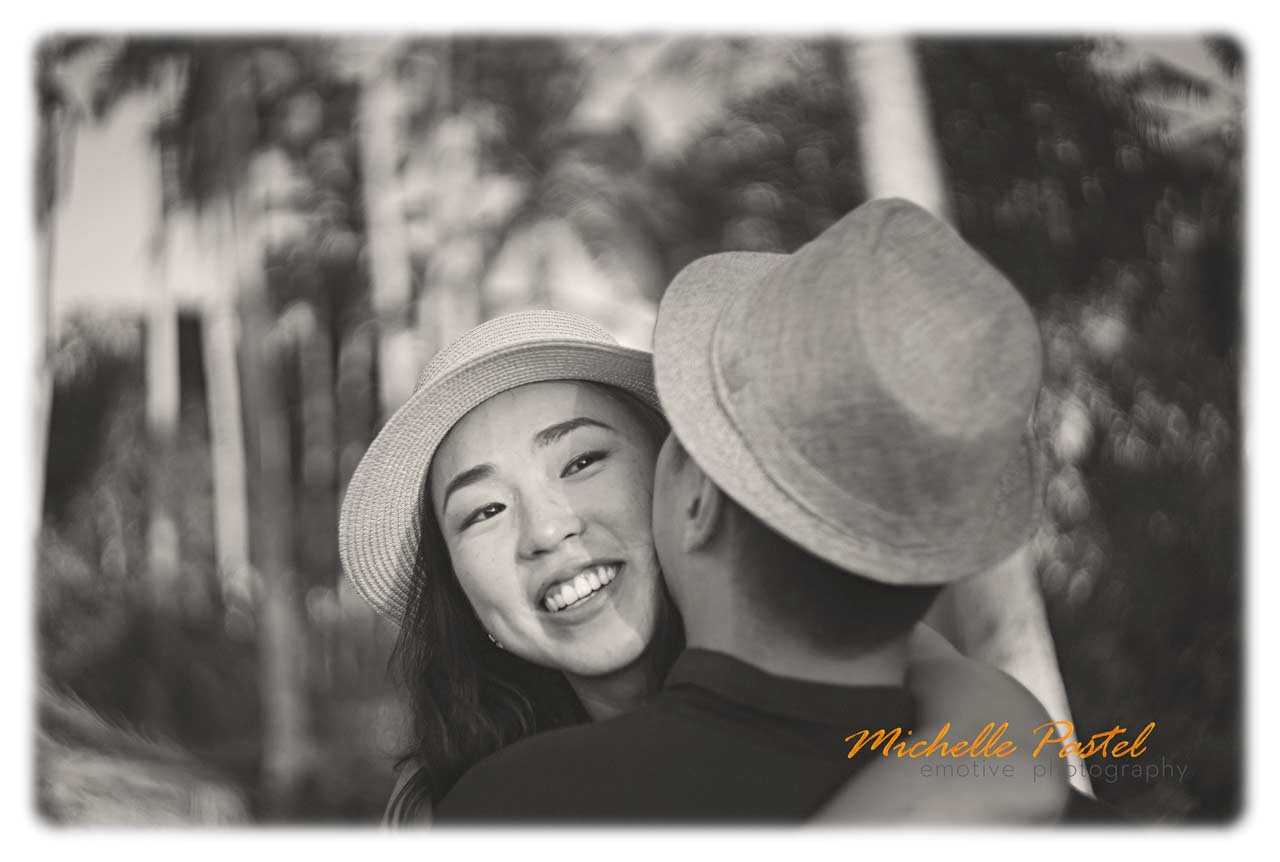
SOVIET UNION made Lens HELIOS-40 85mm / f1.5
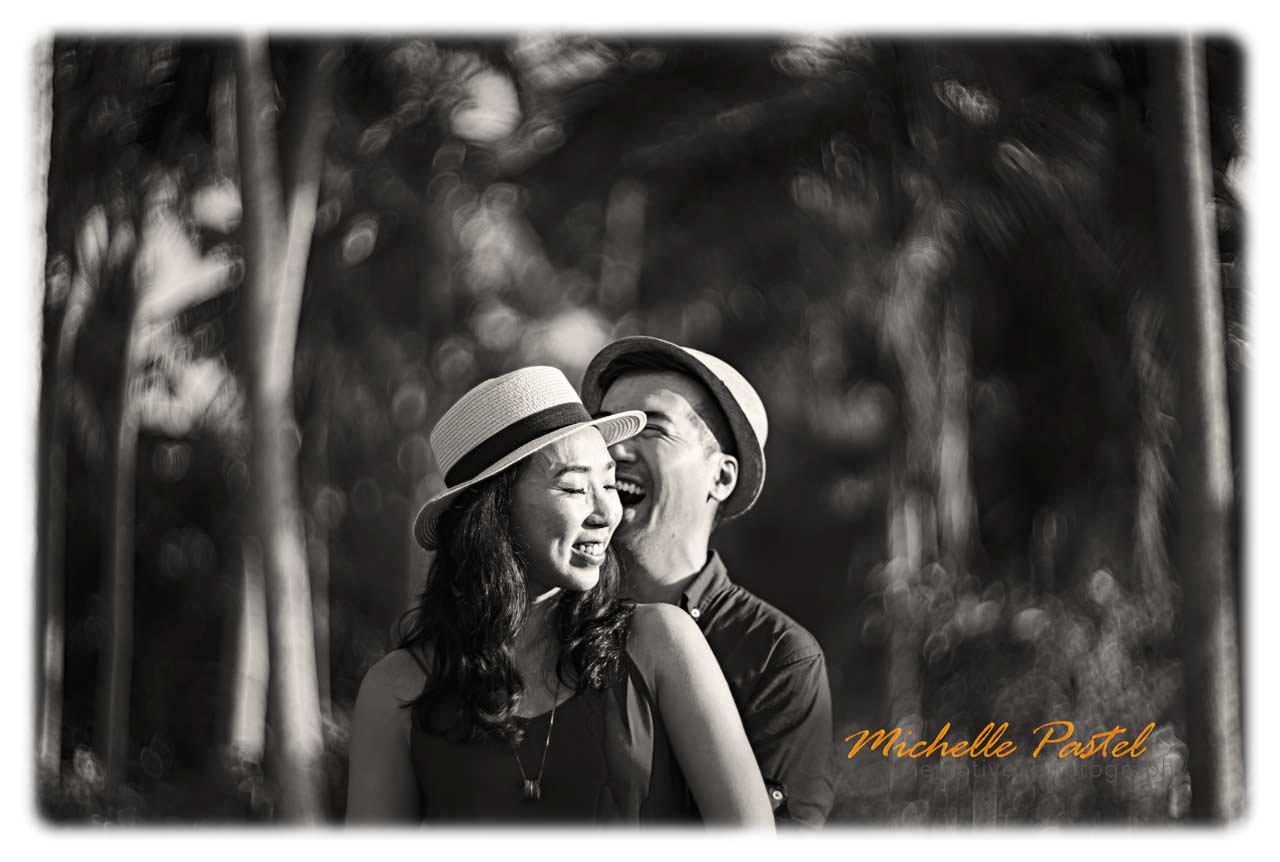
is your head already spinning from the swirly bokeh ? HELIOS-40 85mm / f1.5
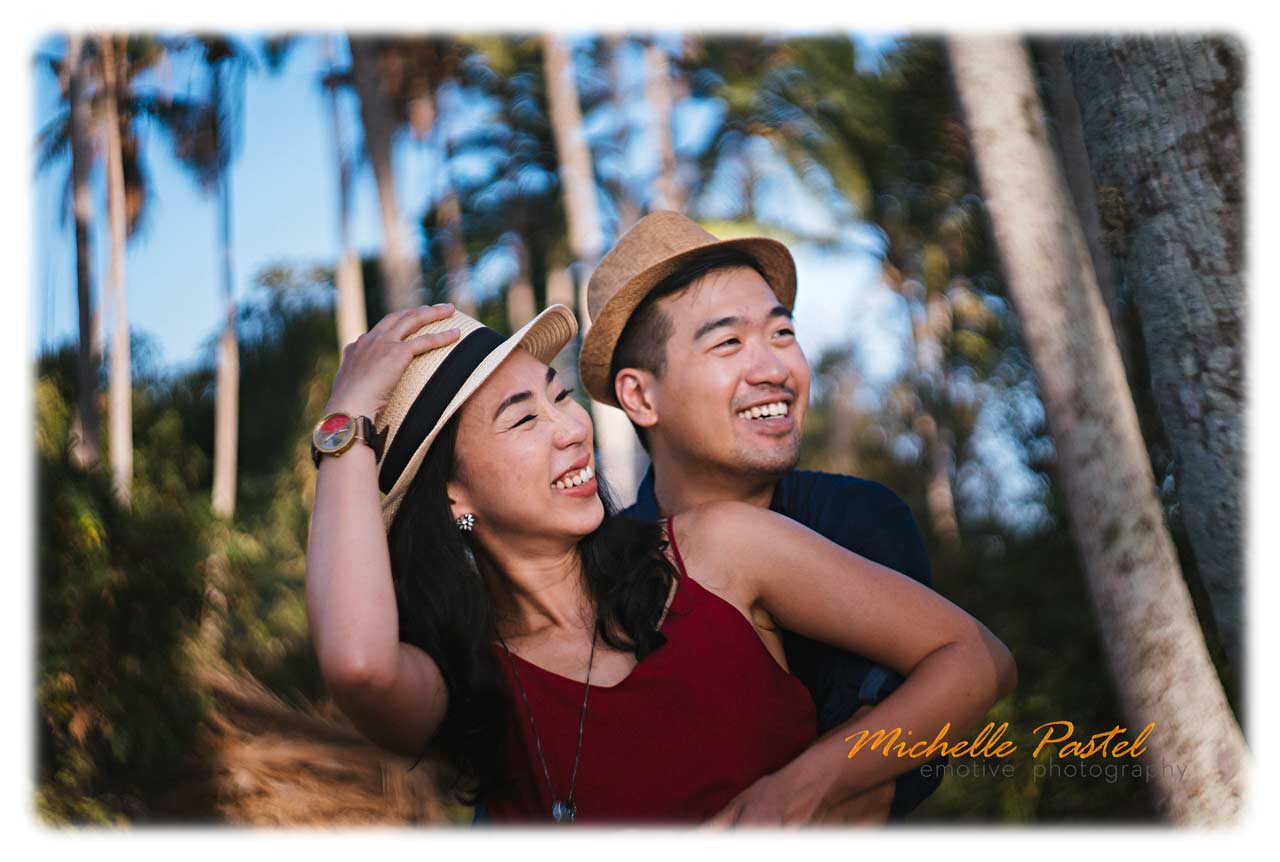
How sharp are the Helios lenses ?
The short answer is: sharp enough…
However, when used wide open they cannot achieve the same sharpness as their modern counterparts. But sharpness is not what you are after when you use a Helios lens.
Your clients will not even notice a slightly soft photo. Because they do not evaluate a photo on its technical merit but on the overall look and feel.
Also, a slight lack of sharpness or miss-focus can easily be mitigated with the texture, the sharpness and sometimes even the clarity adjustment brush in Lightroom.
The HELIOS-40 85mm / f1.5 can be very unforgiving when it comes to nailing the focus. So I have to constantly readjust the focus ring a tiny bit.
That is because I am not the kind of photographer who does the ‘go-there-and-smile’ kind of photographs where my subjects are still.
I rather create what I call ‘micro-scenarios’ or situations. Whereby I ask my subjects to do something while I photograph them.
Consequently, my subjects will constantly move a bit. We humans are not made to be still. Especially when we interact with each other.
And even a slight sudden tilt of the head or similar movements will throw the focus off.
As a result, there will be a rather high number of photos where the focus is off.
Enough of my bla bla bla. Here are some more examples of wedding & portrait photography with vintage lenses.
The ones in the following exploit another ‘strength’ of the HELIOS, namely how easy they flare.
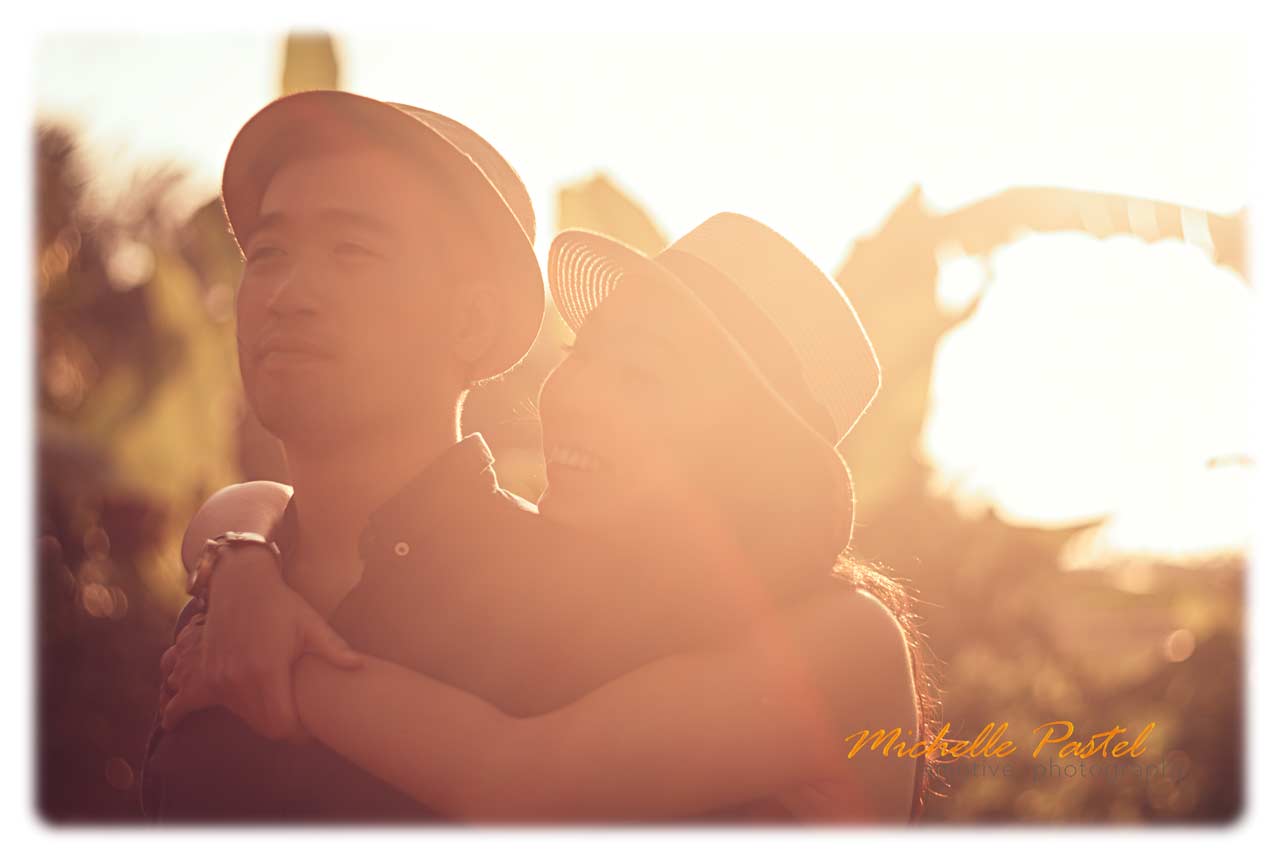
HELIOS 40 85mm / f1.5 can flare like crazy
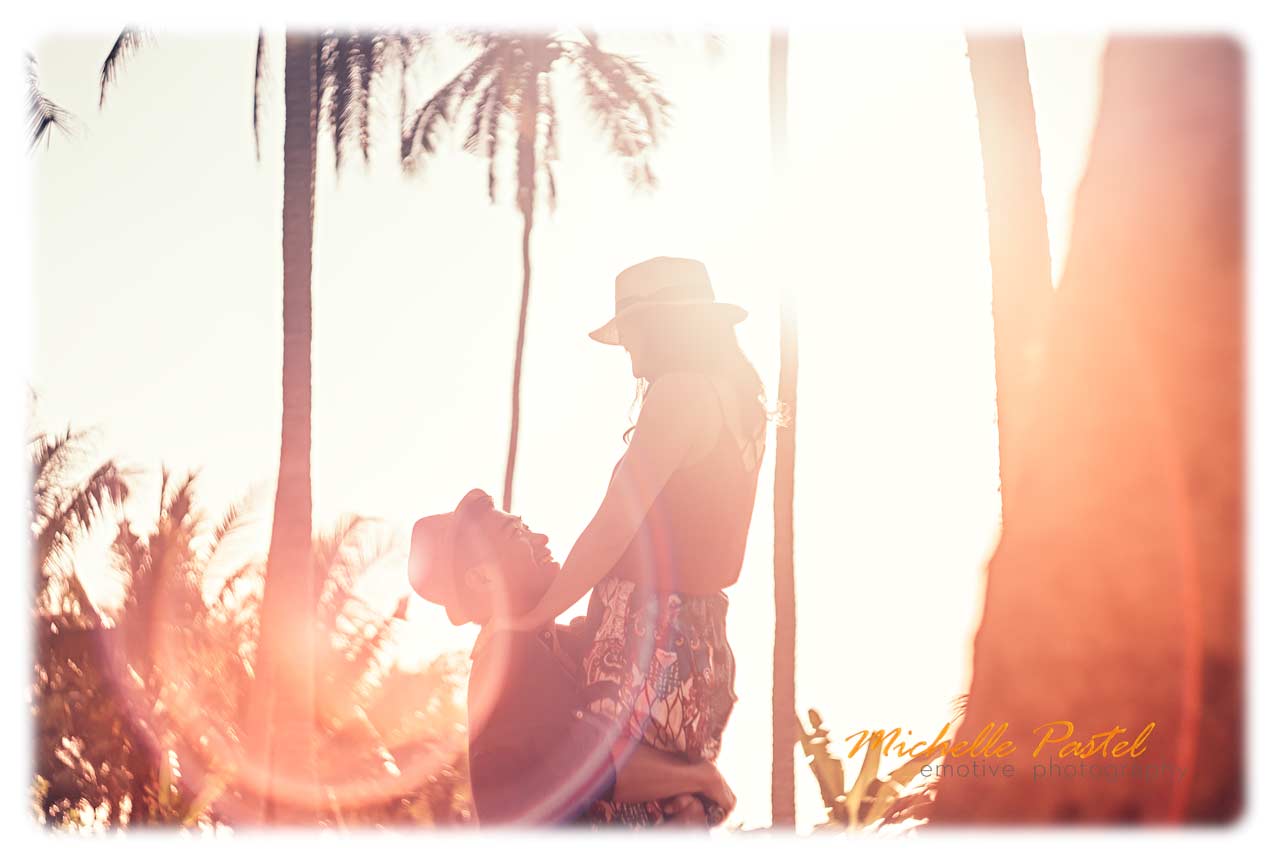
Another type of flare this lens produces
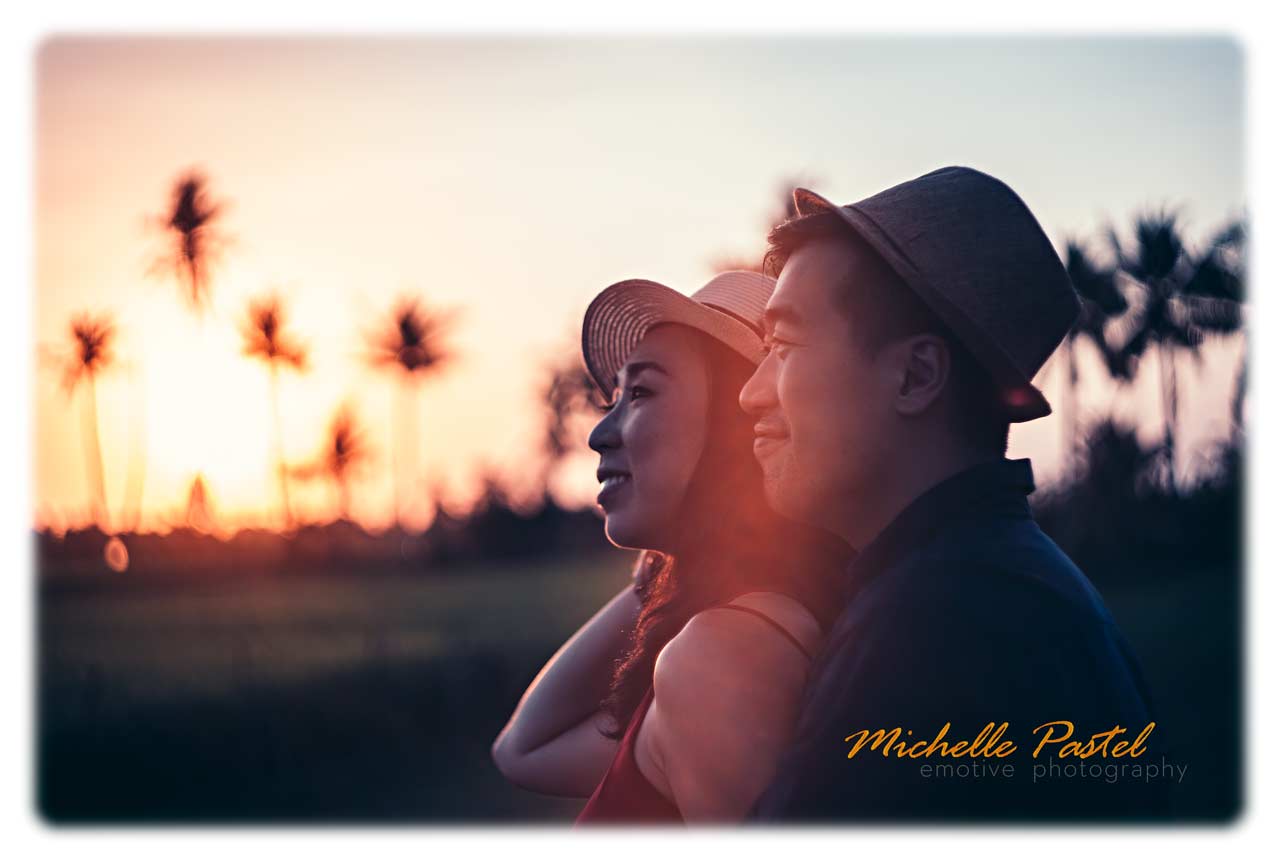
HELIOS 40 85mm / f1.5 – flare behavior is unpredictable…
The look and the editing
Of course, for wedding & portrait photography with vintage lenses, I am using a film-style look and toning for the images. There was no particular preset involved – I use some self-developed presets as the basis.
I then still tweak white balancing, exposure and sometimes shadows and highlights for each photograph.
The main component of the film look comes from the curves.
The other important ingredients are the colours. For this, I use tools such as H-S-L, split toning and even the camera calibration sliders.
In an upcoming blog post, I will shed more light on my editing process and also answer the question of whether vintage lenses require different settings when compared to photos done with modern lenses.
Here are more of my favorite photos from this Bali engagement photo project:
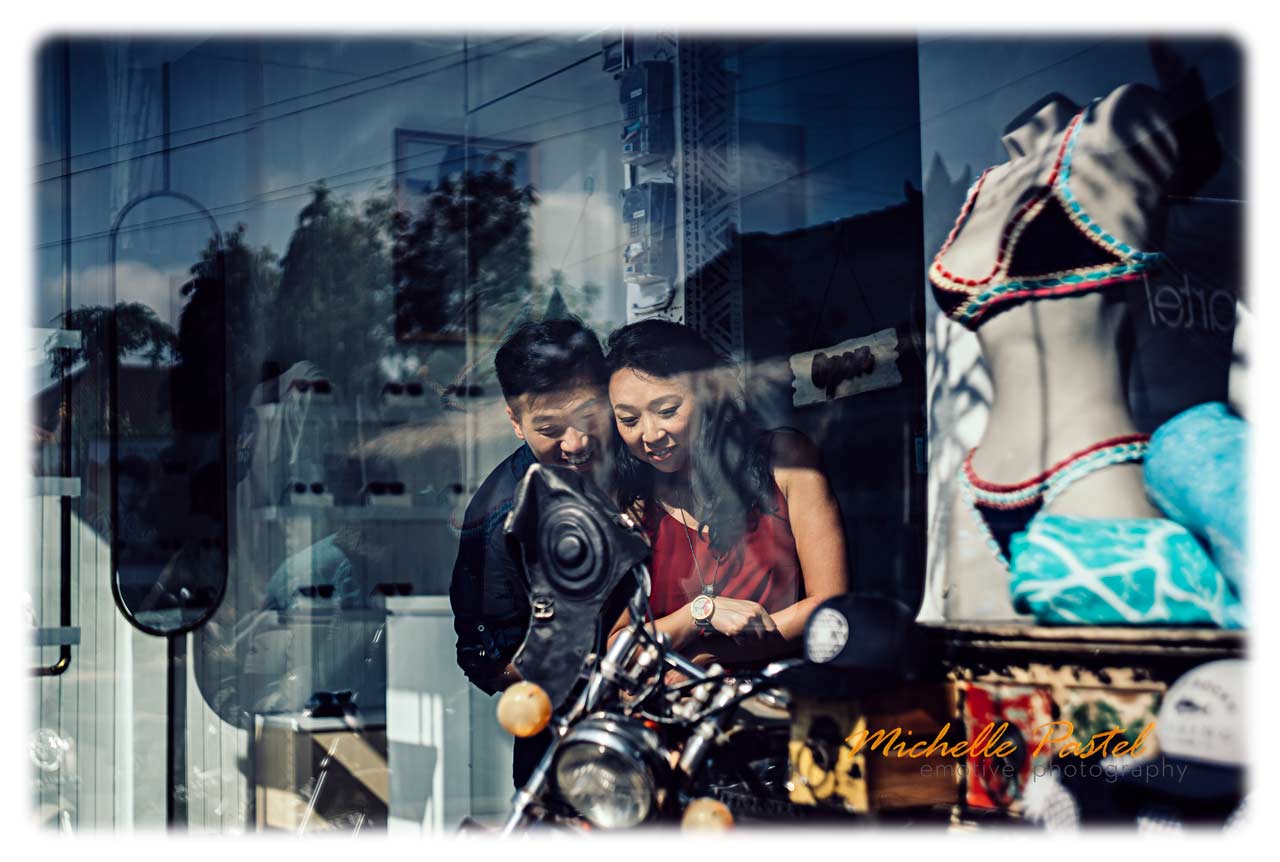
HELIOS 44-2
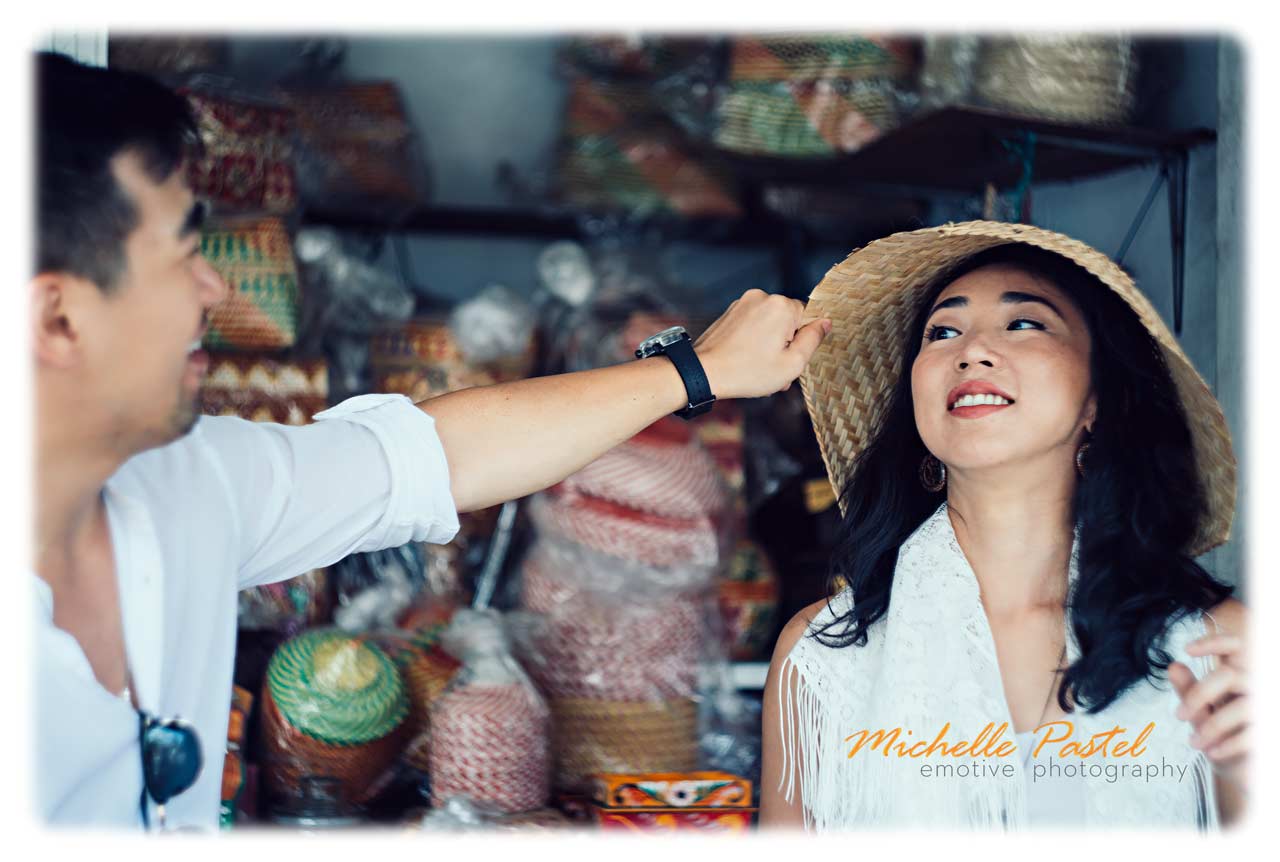
HELIOS 44-2 with slightly swirly bokeh
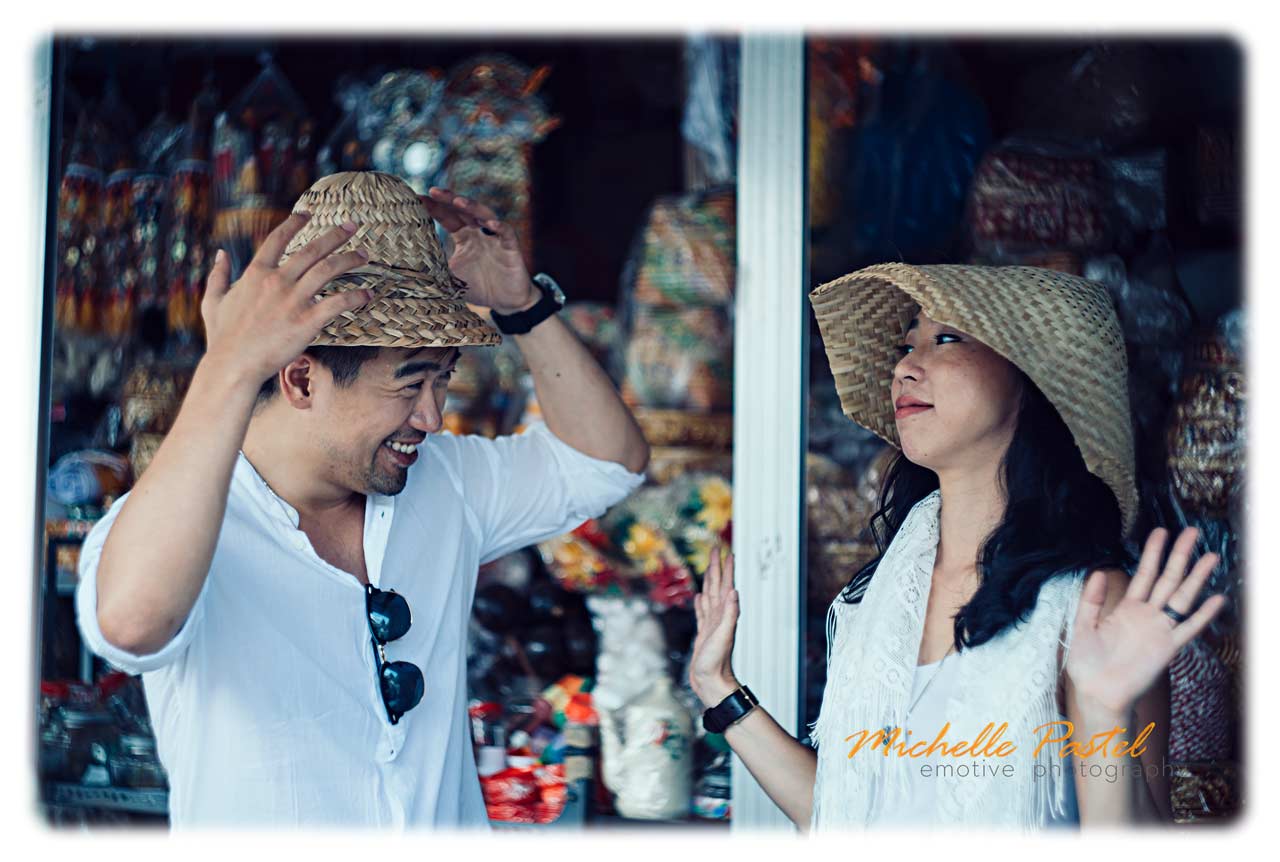
HELIOS 44-2 with slightly swirly bokeh
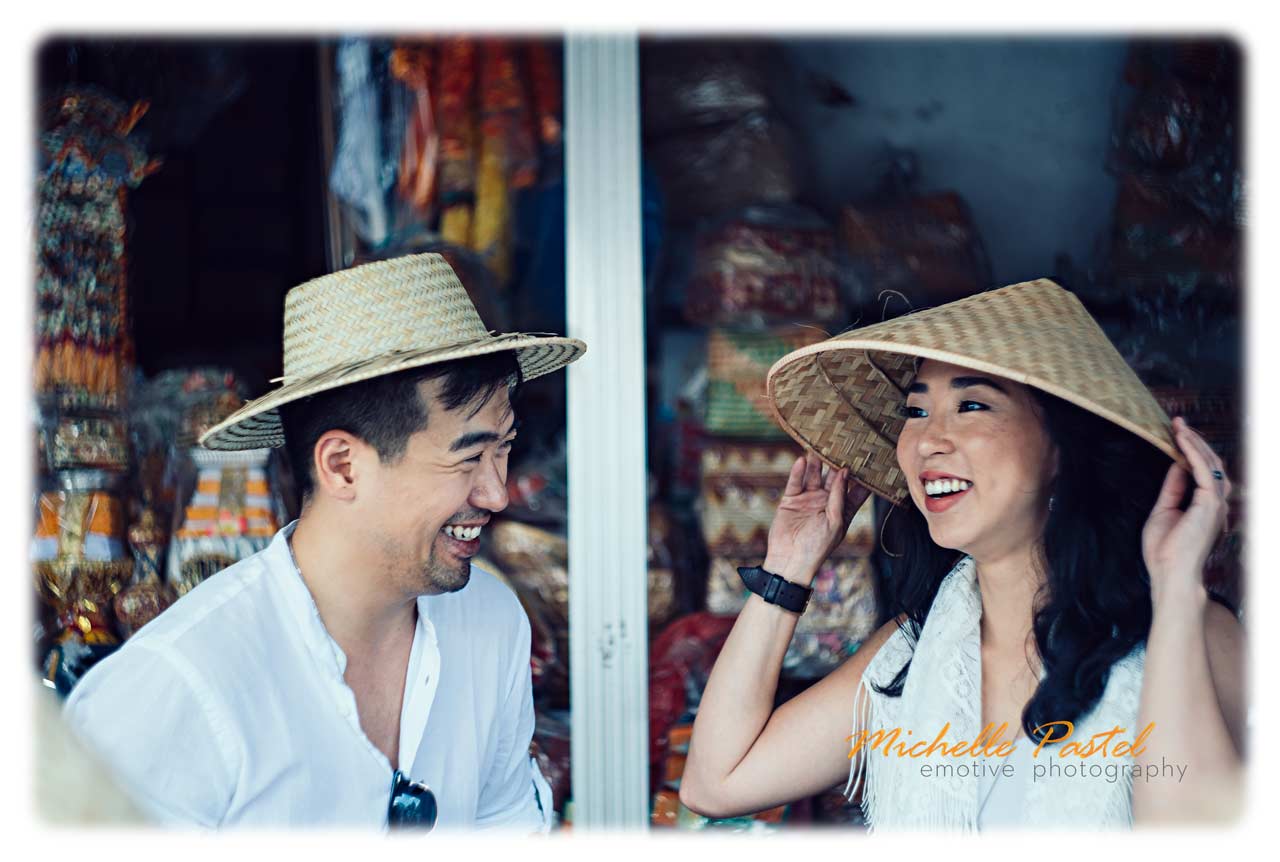
HELIOS 44-2 | fun for them – fun for me
I hope I have inspired you to also try wedding & portrait photography with vintage lenses.
And if you want to delve deeper into the world of vintage lenses and explore SLOW PHOTOGRAPHY as a way to approach the craft of photography then you must join our friendly and helpful Facebook group of like-minded photographers at:
SLOW PHOTOGRAPHYBe a member of the movement
So what is the conclusion here?
Wedding & portrait photography with vintage lenses can be very rewarding and produce rather unique images.
The quirkiness and technical inadequacies can enhance the character of the photographs.
The faded look of film-style photos or the lack of contrast, the lower saturation, and other looks-like-film characteristics can easily be emulated in post pro.
But the swirly bokeh or the doughnut bubble of a mirror lens can only be achieved with the real thing.
Are you also using vintage lenses for your commercial projects? Which is your favorite?
Or do you plan to try to use vintage lenses?
Please leave a comment below. I would love to hear from you.
Truly’ DOMINIK
FOLLOW ME ON



Have recently discovered the beauty of vintage glass with the adoption of mirrorless bodies. I was a die-hard DSLR guy for a long time, and unsuccessfully tried some old Nikkors and Pentax f/1.2 lenses, but Olympus and Sony are really helping me to rediscover what I love about photography. The Takumars, Helioses, Jupiters, Industars, Tairs, Vivitars, Minoltas, Jenas, Canon FLs, and so many others are just so much fun to learn as they slow me down and make me think. I don’t do any paid work, but if I did, I would want to use my vintage glass over my modern super-lenses (unless it’s the Northern lights, in which case the new super-wide Sigma Art lenses rule the way).
I hadn’t considered the Tokina mirror lens before, but I’ll give it some thought and maybe get one.