
Some sort of a DISCLAIMER: If you are not a photographer or a vintage lens enthusiast you may find this story rather boring and uninteresting…
Bringing SLOW PHOTOGRAPHY to the next level
Part of what I consider to be true SLOW PHOTOGRAPHY is experimentation. Trying out new things – new gear – new techniques, etc…
I own over 15 different lenses and I love to play with them and use each of them for what they are good at.
But this time I wanted to bring the ‘lens play game’ to a new level. And do so by modifying a lens and thus repurposing it.
(Very) Swirly Bokeh with modified Helios 44-2 lens
After the complete success with my first Helios 44-2 lens shoot in Harbin, I had to have a second copy of that lens. Because I wanted one where I could do a lens modification with the front element of the lens reversed.
This lens can be had very inexpensively on ebay. There is even a business in Russia that exclusively sells that lens. Therefore, it was a no-brainer to get another one. And modify it to have its front element reversed.
What that means is: To take the lens apart and take out the front glass / front element and put it back in after turning it around. To be more specific: The side of the glass that was facing outwards is now facing inwards towards the sensor. And the side was facing inside towards the sensor is now facing outwards.
In case you are asking: No, I did not do this lens modification myself. I am not versed in tinkering with photographic equipment. But the good news is here in Bali, where I live, I found a specialist who has mastered the skill of taking lenses apart and back together.
After he performed his ‘magic’ I was pretty excited that I finally had my Helios 44-2 ‘modif’ and wanted to straight head out to take this puppy for a spin.
It was late afternoon the light was bad. Completely overcast sky with a slight drizzle – that kinda light.
But hey, I was not planning on taking ‘mastershots’ – I simply wanted to see what can be done with that modified Helios 44-2 lens. I did not mind the adverse conditions at all.
So here are the first captures I took with my modified Helios 44-2 lens:

sort of a landscape shot

and another attempt at creating sort of a semi-abstract Bali landscape shot

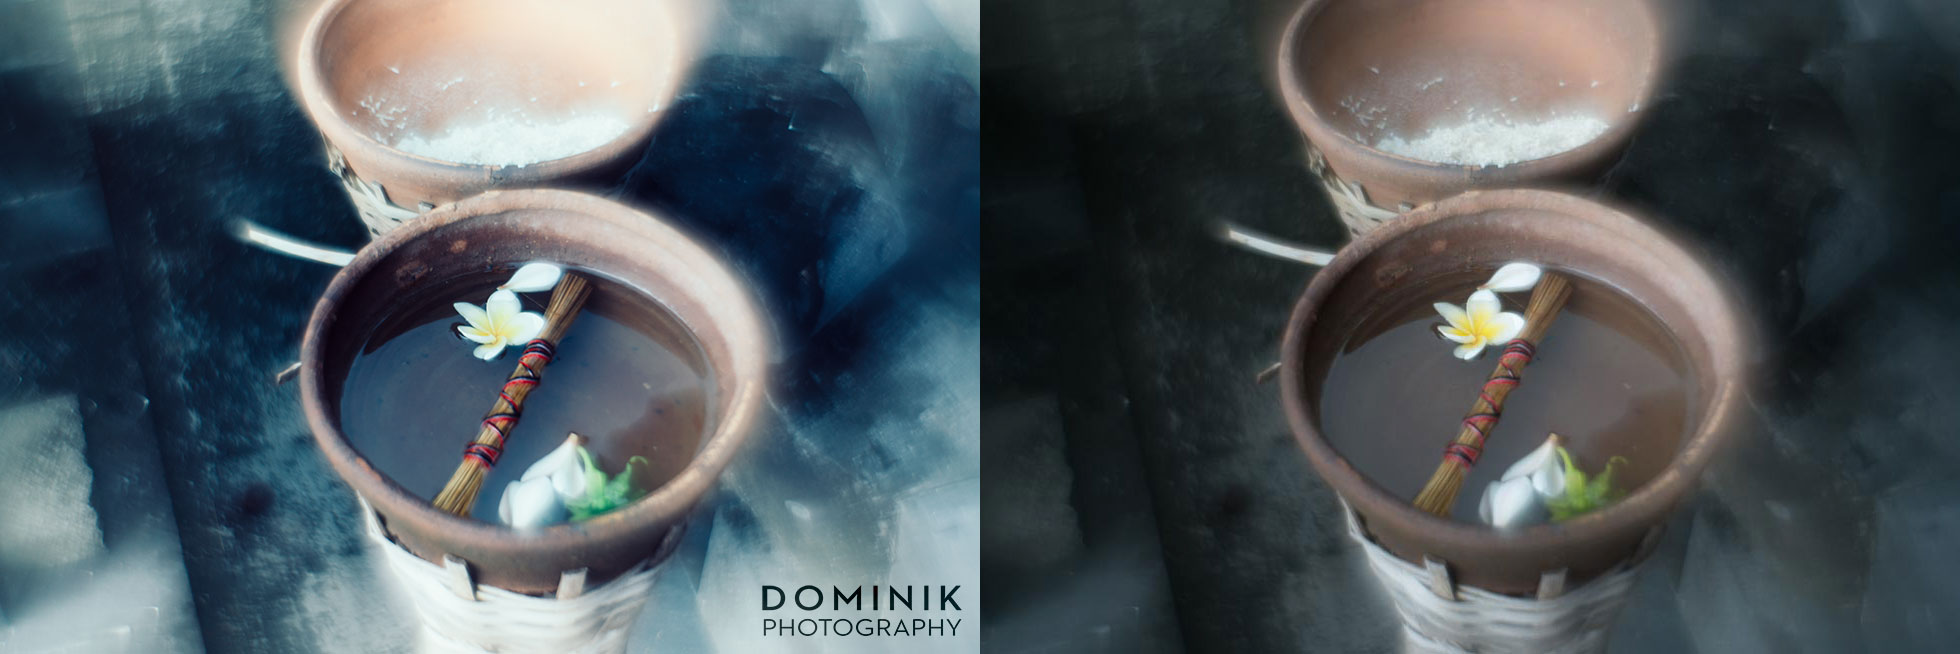
Balinese offering utensils

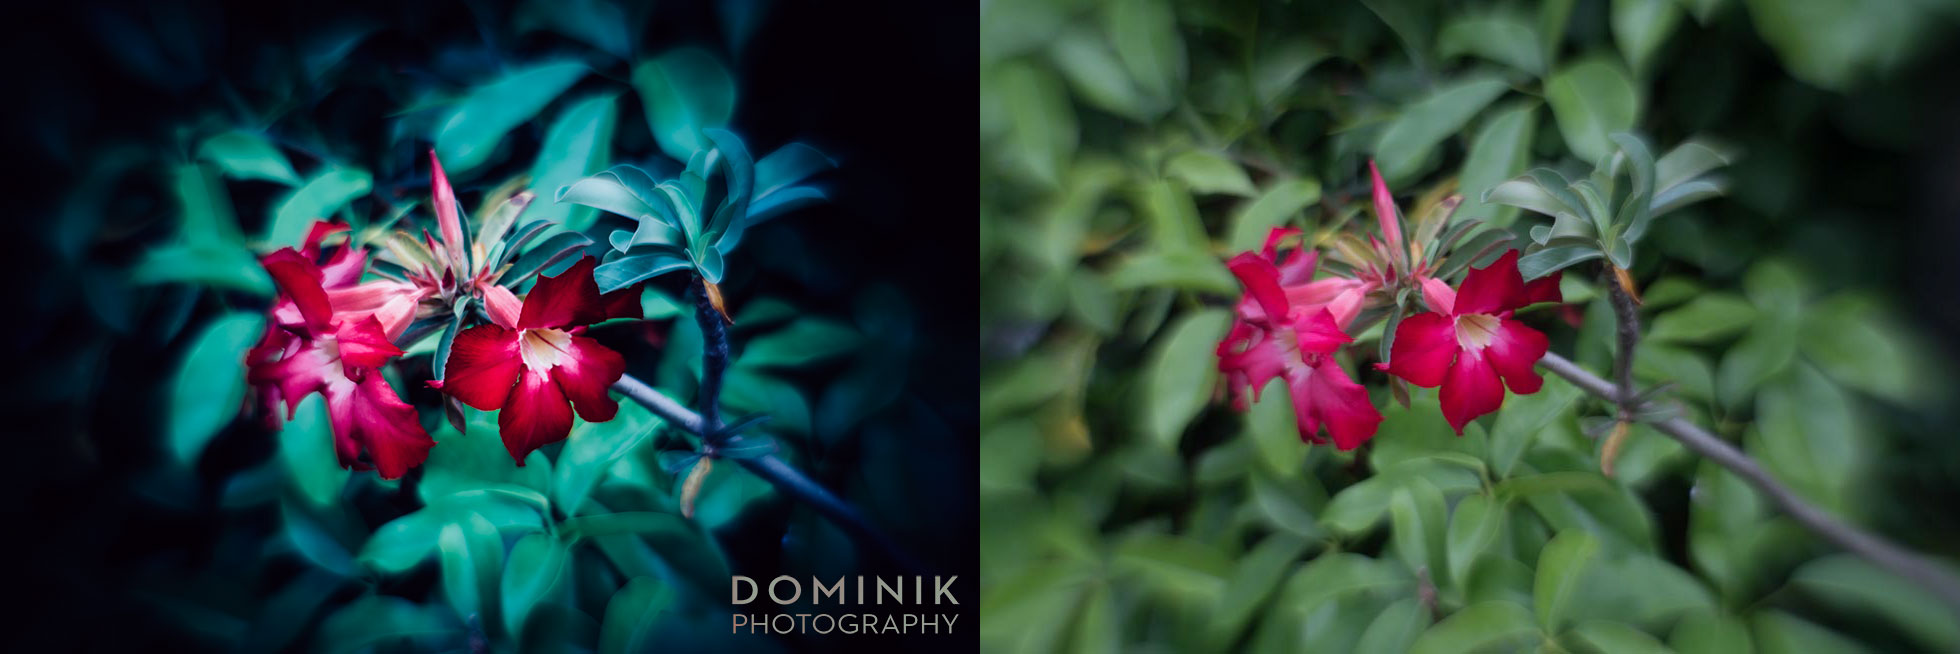
Flowers with a swirly bokeh background
Unpredictable, ‘artistic’ results
After only a few shots I got really excited with what this little lens could do. In the following days, I ventured out again a few times to put it further through the paces.
So what’s the big deal about this lens?
Some may say: I can do all this blurring, haze, glowing, etc… in Photoshop. My answer to this argument is a resounding YES. Indeed 90% or more of what this modified lens produces can be also achieved in Photoshop.
Though I have two strong arguments against producing such effects in Photoshop. Time & fun factor !
If a skilled Photoshop editor was supposed to do an edit with all the haziness, glow, blurriness and what have you… it’ll take 5, 10 more minutes of time per photograph.
Whereas with a modified lens it’s instantaneous.
What is even more important is that the results you get tend to be unpredictable.
And this unpredictability is very inspiring.
For me, photography has a huge element of play. Play in the sense as a child plays or as a musician plays an instrument. I prefer to play with photographic equipment rather than with my mouse in Photoshop. But that is of course just my preference.
It continues to amaze me what can be done with that lens. A few more examples:

another ‘flower power’ photograph

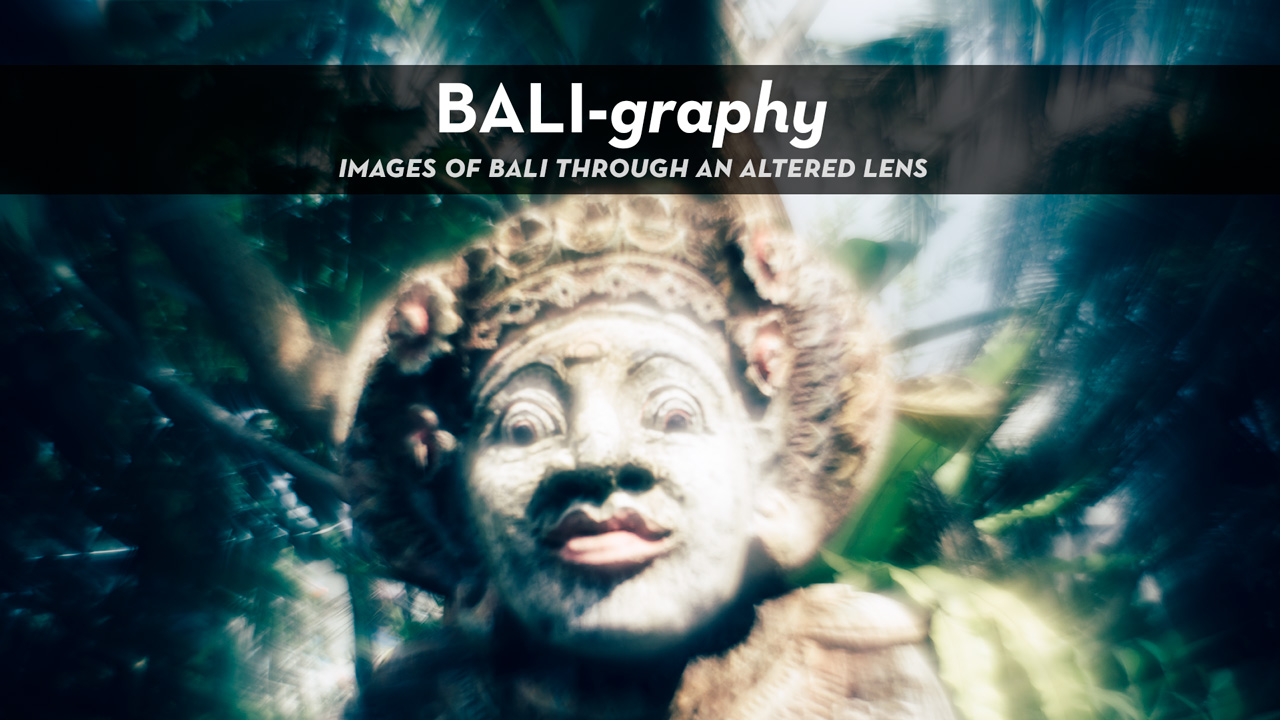
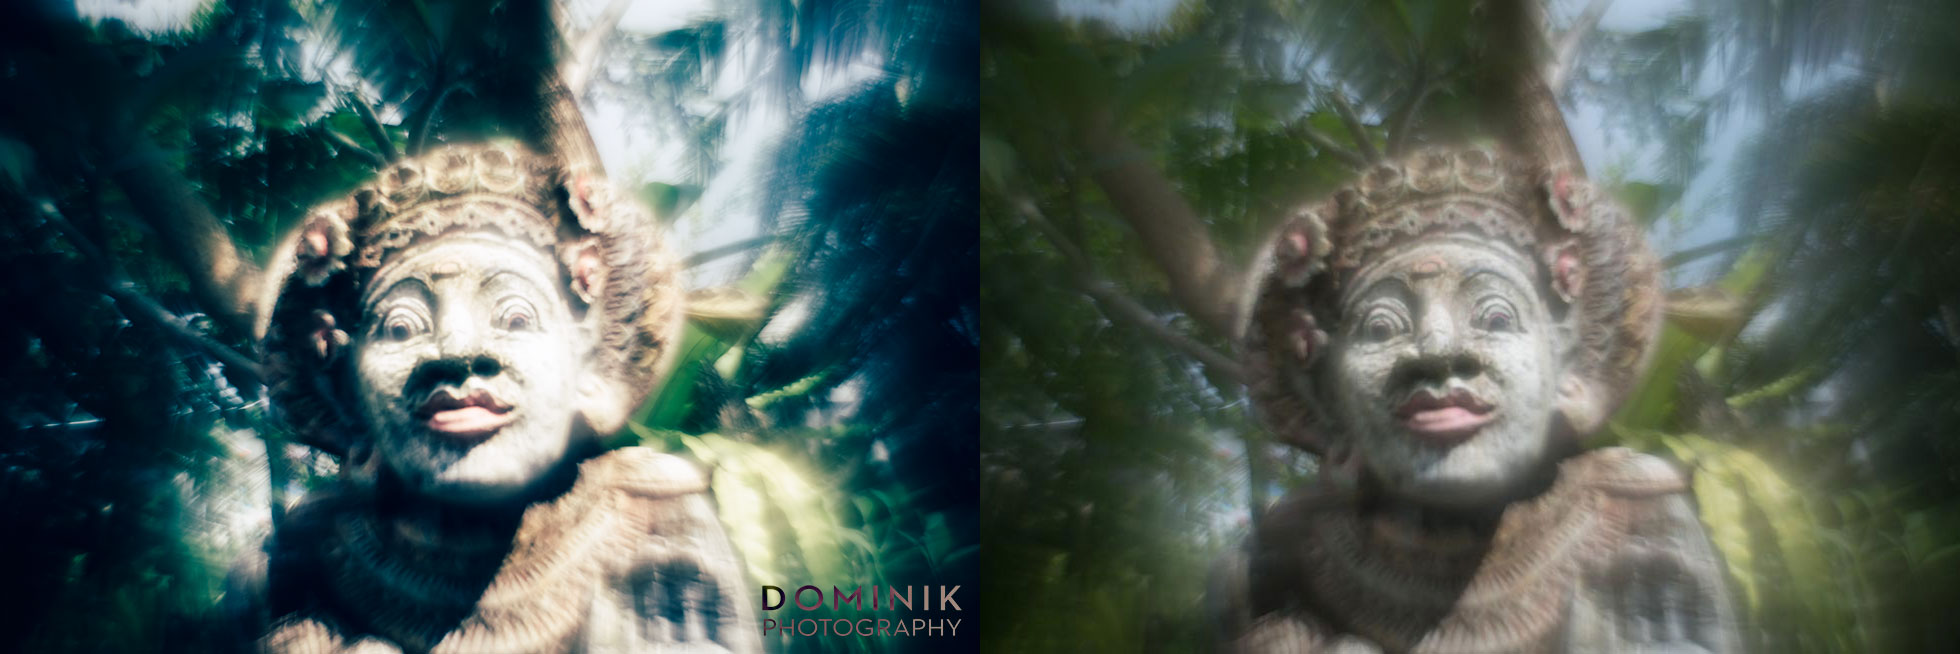
Balinese figurines

another Balinese figurine

Beauty in simplicity
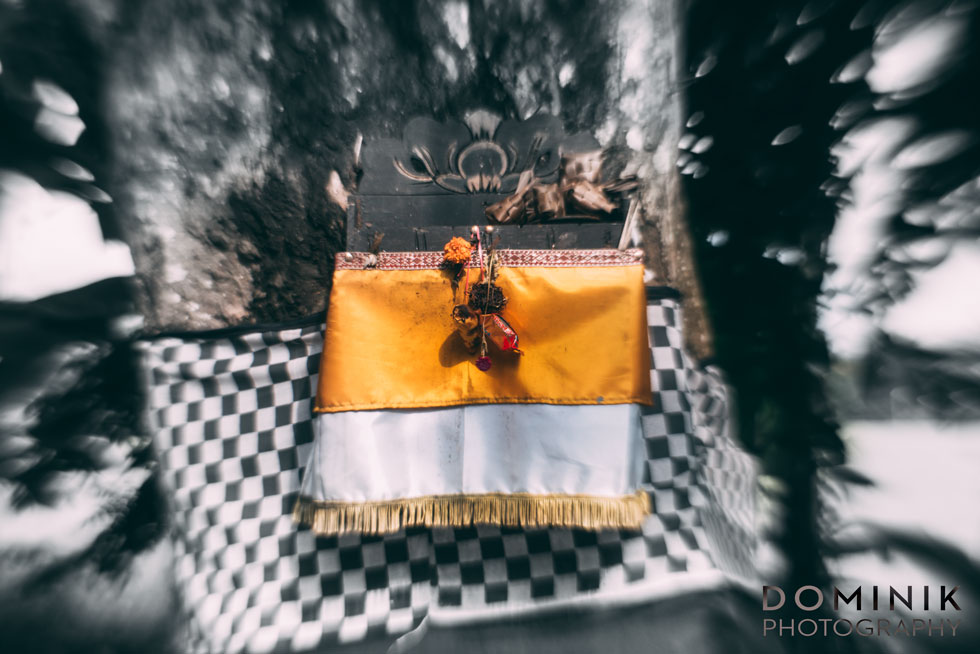
a place for offerings in Bali

for the gods…

Balinese offerings to appease the gods
So why then would you want to have such a modified lens? I tell ya why: Because the images it produces are unique. It’s great fun to take photographs with such a modified Helios 44-2 lens.
I understand that some photographers prefer to take completely uninspiring photographs of flowers or other items in their backyard to measure how many percent sharpness falls off towards the corner of the frame. My obsession is not measuring chromatic aberration and other technicalities.
I make photographs because I enjoy the proses of taking photographs.
For this reasons, I find this lens very inspiring.
Though I admit a modified Helios 44-2 is in a way a one-trick-pony. On the other side as you can see from the photographs I showed you this one trick can be applied in 1000 different ways. Only one’s creativity is the limit.
Also, that very trick as you saw from the photographs above can be used in many photographic situations and to create a great variety of images.
What & Who is such a lens NOT for?
Portraits: A lens with a reversed front element does not at all work as a portrait lens. I tried a couple of times and failed miserably.
I also doubt that I would ever use that lens in a professional way. But you never know.
Pixel-peepers, stay away! Let’s make it clear: You cannot make really sharp and technically correct pictures with such a lens. But therein lays its appeal.
A few more things worth remarking about the photos you have just seen.
No Photoshop involved. No artificial blurring, adding haze, glow or whatever… Just color temperature adjustments, tinkering with colors and tones and a few other things that can be done in Lightroom quickly. Don’t believe me ?
See the following BEFORE / AFTER comparisons of some of the photos:


If you want to do such a lens modification yourself here is a link to a tutorial that explains how to do such a lens modification on a Helios 44-2 lens.
It seems not to be rocket-science to take a lens apart and reverse its front element. Because the guy who did it for me took only around 5 minutes.
There you have it. My story and my adventures with a modified Helios 44-2 . I love this lens to bits and look forward to more photos with this ‘bugga’.
In fact, I love the effect of what a lens with a reversed front element can do so much that I will soon take another lens – from a different manufacturer and try out the same modification.
If anyone has suggestions on which lens would also lend itself well to such a modification please leave a comment below. I’d love to hear from you.
If you also like to ‘play’ and experiment with your photographic gear you may want to join the SLOW PHOTOGRAPHY movement – a group of like-minded photographers:
SLOW PHOTOGRAPHYBe a member of the movement
Truly’ DOMINIK

Other articles that will interest you
ICONS of BALI
This is a series of fine-art photographs depicting Bali’s rich culture of statues & figures. SLOW PHOTOGRAPHY with a modified HELIOS 44-2 vintage lens.

Ogoh Ogoh in Bali
In this article, you can some great examples of Balinese Ogoh-Ogoh figures. As well as some background information about the origin and purpose of this wonderful Balinese tradition.
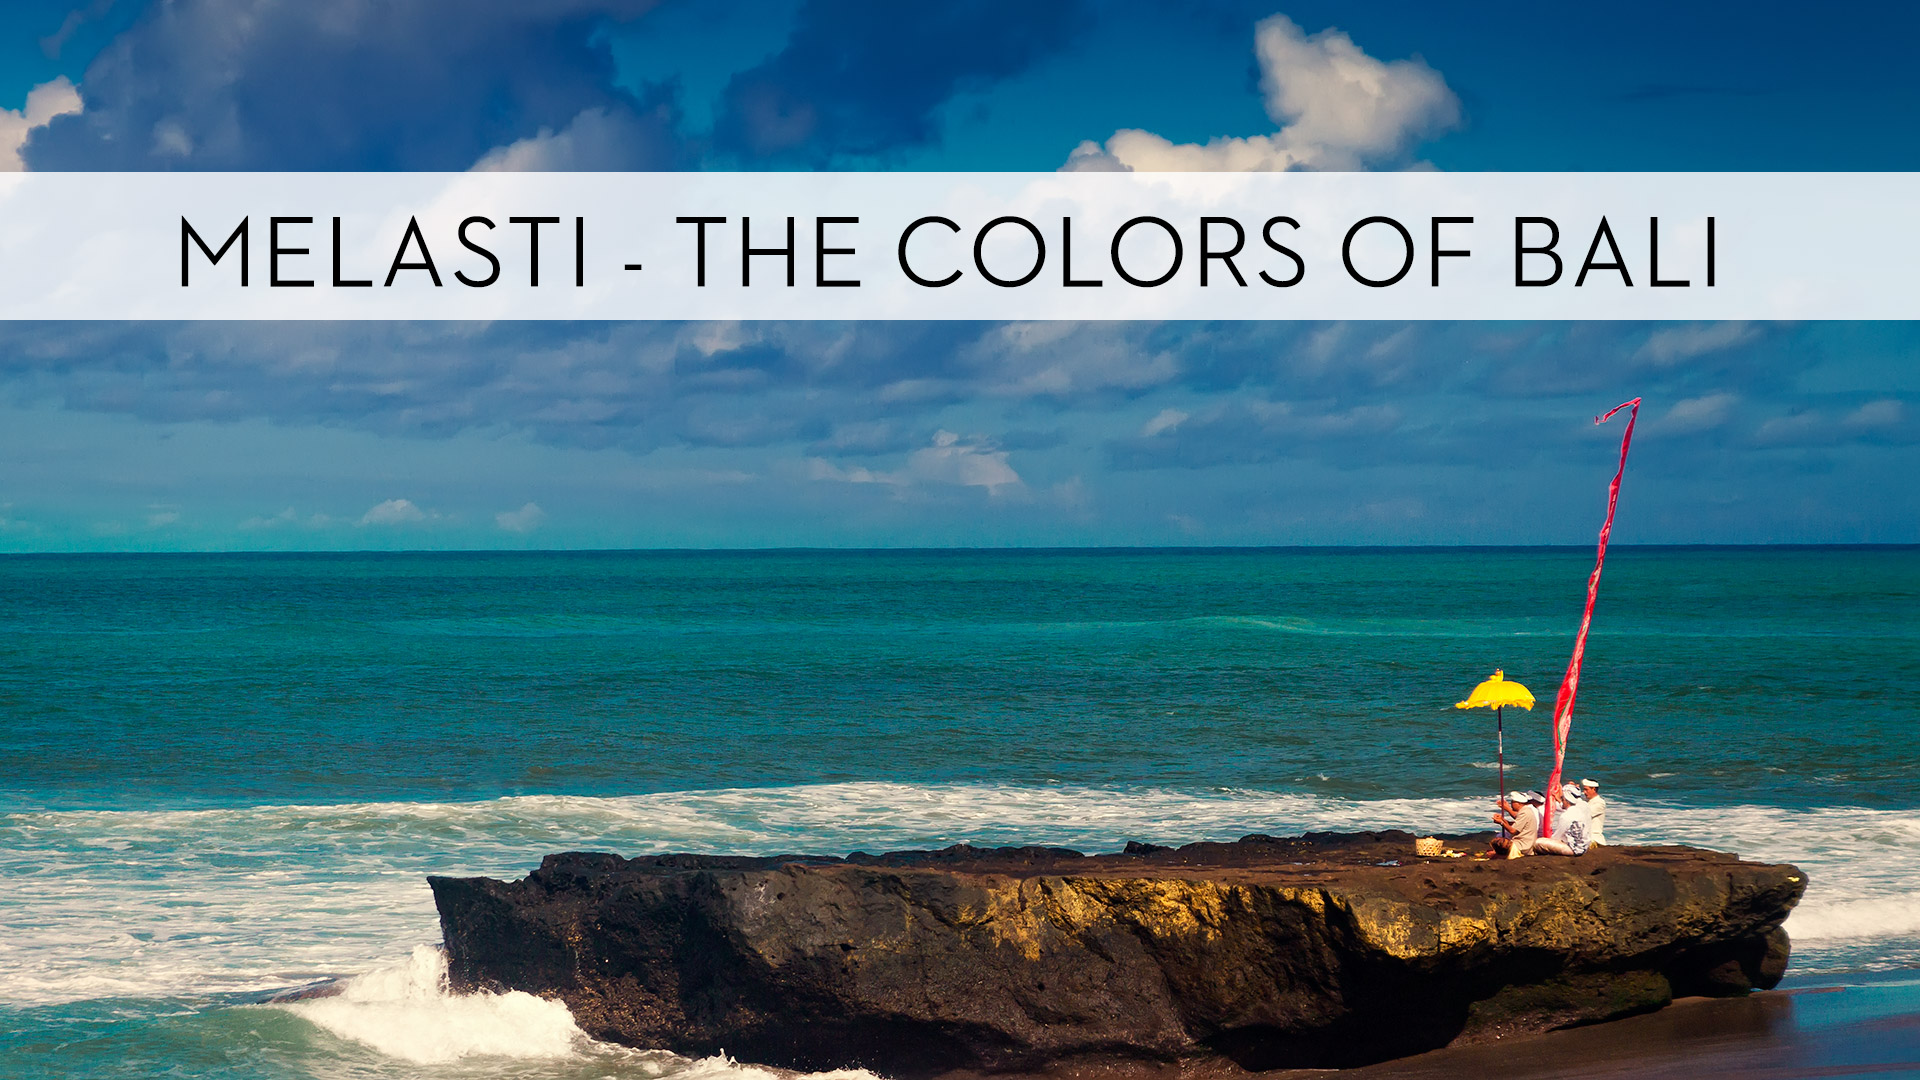
MELASTI – Bali’s most holy ceremony
MELASTI is the most significant day in the calendar of the Balinese people. The purification ceremony is a must for every devout Hindu. See the pictures here.
Try the Mir 1B. 35mm f2. Works great as a reversed globular lens.
And it is very easy to return the front lens on those Russian lenses. Hope the guy who does it for you does not charge you an harm and a leg…
Thank you so much for this suggestion. Because I love the effect that reversed lenses produce I am going to buy such Mir 1B 37mm…